How to Take Images Through a Telescope with Your Smartphone
The universe’s wonders have always fascinated me; telescopes provide a window into the celestial realm. With the advancement of technology, it is now possible to capture stunning images of the milky way, its planets, and other astronomical objects using your smartphone.
In this article, I will guide you through capturing breathtaking images through a telescope with your mobile phone, from selecting the right adapters and gear to adjusting settings and utilizing smartphone apps. I will cover everything you need to know to embark on your astrophotography journey.
➤ This post may contain affiliate links, purchases made through affiliate links may provide a commission for smartphone photography at no extra cost. Of course, all opinions remain our own. Please read the Privacy Policy for more info.

Choosing the Right Gear for Telescope Photography
To capture images through a telescope with your smartphone, you will need a few essential pieces of gear:
- Telescope: Select a telescope with a sturdy mount and decent optics. Aperture and focal length are crucial considerations for astrophotography.
- Smartphone Adapter: Invest in a smartphone adapter that securely attaches your smartphone to the telescope’s eyepiece. There are universal adapters available, as well as specific ones for different smartphone models. For example, this Celestron NexYZ DX Universal Smartphone Adapter kit is compatible with the Celestron NexStar 6SE Telescope, which I recommend for Telescope Photography. Find two more recommendations further down the article.
- Eyepiece: Opt for a high-quality eyepiece with a suitable focal length for your desired magnification and field of view. This telescope accessory kit works with the Celestron NexStar 6SE.
Proper Setup and Alignment
Follow these steps to set up and align your smartphone with the telescope:
- Mount the smartphone adapter on the telescope, ensuring a stable connection.
- Attach your smartphone to the adapter, ensuring it is appropriately aligned with the eyepiece. Use a smartphone case with a tripod mount if necessary.
- Align the telescope by pointing it at a bright, easily identifiable object in the sky. Fine-tune the alignment using the telescope’s controls to ensure a steady and clear view.
Adjusting Settings on Your Smartphone
You must optimize your smartphone camera settings to capture stunning images through your telescope. Here are some essential things to consider:
- Manual Mode: Switch to manual mode on your smartphone camera app to have more control over the settings.
- Focus: Disable auto-focus and set the focus manually. Adjust the focus by tapping on a bright star or a distant object until it appears sharp and clear on your smartphone screen.
- ISO: For night sky photography, you need a higher ISO. Please lower the ISO to reduce noise and maintain image quality. Experiment with different ISO settings based on the lighting conditions and the object you photograph.
- Shutter Speed: Use a longer exposure time (slow shutter speed) to capture more light and details of faint objects. Remember that longer exposures require a smartphone tripod, mount, and remote shutter to prevent camera shake. You can find my favorites in the ‘gear list.’
- White Balance: Set the white balance to “Daylight” or “Auto” to ensure accurate color reproduction.
- HDR and RAW: Consider enabling High Dynamic Range (HDR) and shooting in RAW format to capture a broader range of tones and have more flexibility during post-processing. RAW images contain much more information than JPG files, making creating breathtaking results in editing apps like Lightroom easier.

Astrophotography Apps and Post-processing
Several smartphone apps can enhance your astrophotography experience:
- Star Chart apps: Utilize star chart apps like SkyView (Apple/Android) or Stellarium (Apple/Android) to identify celestial objects and plan your photography sessions accordingly.
- Night Photography apps: If your native camera does not have a manual or professional mode, use an app like NightCap, VSCO, or ProCamera to capture long-exposure shots, adjust settings like ISO and shutter speed, and even stack multiple images for improved quality.
- Post-processing apps: After capturing your images, enhance them using photo editing apps like Adobe Lightroom or Snapseed. Adjust brightness, contrast, and sharpness, and apply noise reduction techniques to improve the final result.
Tips for better results while taking images through a telescope
Consider the following additional information to improve your astrophotography results:
- Stability: Set your telescope on flat flooring and stabilize it with extra weight if necessary. You don’t want the telescope to move while taking images!
- Remote Shutter Control: I use a wireless shutter to release the shutter button without touching the camera phone. You could also use a timer of 3 to 5 seconds, but I always like to be safe with taking night sky images. You can find my gear on this page.
- Light Pollution: Find a location away from urban areas with minimal light pollution to capture clearer and more detailed images of celestial objects.
- Patience and Persistence: Astrophotography requires patience and practice. Experiment with different settings, techniques, and objects to improve your skills and capture stunning images.
- Timelapse and Video: Explore timelapse photography and video recording capabilities on your smartphone to capture the movement of stars, planets, and other celestial events. My phone has a hyperlapse function which I use for capturing the night sky.
- Bracketing: This technique involves capturing images at different exposure levels to ensure optimal results. This technique can be helpful when photographing objects with varying brightness levels. You can use CameraPro, Camera FV-5, Open Camera, ProShot, or Camera+ 2.

Which telescope would you recommend for phone photography
When selecting a telescope for phone photography, there are a few factors to consider. Here are my recommendations:
Aperture and Focal Length: Opt for a telescope with a larger aperture (the diameter of the objective lens or mirror), as it allows more light to enter the telescope, resulting in brighter and more detailed images. A longer focal length provides higher magnification, allowing you to capture distant objects more effectively.
Stability and Mount: Look for a telescope with a sturdy mount to minimize vibrations and ensure stability during image capture. A stable mount is crucial for capturing sharp and clear images. Equatorial mounts are often preferred for astrophotography because they track celestial objects accurately.
Compatibility with Smartphone Adapters: Check if the telescope is compatible with smartphone adapters. Some telescopes have built-in smartphone holders or adapters, while others may require a separate adapter. Ensure that the adapter is compatible with your specific smartphone model.
Portability: Consider the portability of the telescope, especially if you plan to take it to different locations for astrophotography. Smaller and more lightweight telescopes are easier to transport and set up.
Budget: Determine your budget range and find a telescope that fits within it. There are options available at various price points, so it’s possible to find a telescope that meets your needs without breaking the bank.
Here are my telescope recommendations suitable for smartphone photographers:
- Celestron NexStar 6SE: This computerized Schmidt-Cassegrain telescope offers a good balance between aperture and portability. It has a focal length of 1500mm, providing decent astrophotography magnification. The telescope can be paired with a smartphone adapter for capturing images through your phone. ➽ Available from Amazon

- Sky-Watcher Evostar 80ED: This refractor telescope has an 80mm aperture and a focal length of 600mm, making it a versatile option for both astronomy observation and astrophotography. It offers crisp and detailed images and can be used with smartphone adapters for capturing photos. ➽ Available from Amazon
- Orion 9820 AstroView 90mm: This refractor telescope features a 90mm aperture and a focal length of 910mm. It provides good optics for astrophotography and is compatible with smartphone adapters for capturing images through your phone. ➽ Available from Amazon
Which filters do I need to take an image through a telescope
When taking pictures through a telescope, filters can be a valuable tool to enhance and improve your astrophotography results. The specific filters you need will depend on the celestial objects you plan to photograph and the conditions you encounter.
Here are a few standard filters I use in astrophotography:
Moon Filter: A moon filter is helpful when photographing the Moon as it helps reduce the brightness and glare, allowing for better details and contrast. It is beneficial during the phases when the Moon is near full.

Light Pollution Filter: Light pollution filters, such as the Broadband or UHC (Ultra High Contrast) filters, are beneficial when capturing deep-sky objects from light-polluted areas. These filters help suppress the effects of light pollution, allowing you to capture more contrast and detail in objects like nebulae and galaxies.
Solar Filter: If you plan to photograph the Sun using a telescope, it is crucial to use a dedicated solar filter specifically designed for safe solar observation and photography. Solar filters protect your eyes and equipment from intense and potentially harmful sunlight.
Color Filters: Color filters can be employed to enhance the visibility of certain features on planets. Filters like red, blue, and green can help reveal specific details in planetary surfaces and atmospheres.
Not all filters are necessary for every astrophotography session, and their usage depends on the specific object and conditions you are photographing. Additionally, some telescopes may have built-in filters or filter threads, allowing you to attach filters directly to the telescope.
Settings you need to use while taking images through a telescope
When taking photographs of the night sky, especially in astrophotography, it is generally recommended to use manual focus and turn off certain features such as night mode and flash on your smartphone. Here’s why:
Manual Focus
Manual focus gives you full control over the focusing process, allowing you to achieve sharp and precise focus on the celestial objects you are photographing. Autofocus struggles to find a focal point when shooting the night sky due to the lack of contrast in the dark environment. Using manual focus; you can adjust the focus to ensure that the stars or other celestial objects appear crisp and well-defined in your images.

Night Mode
While night mode on smartphones can be helpful for low-light photography, it is unsuitable for astrophotography. Night mode often uses long exposure times and computational photography techniques to enhance details and reduce noise in low-light scenes. However, in astrophotography, you typically want to capture individual stars and celestial objects without excessive noise reduction or merging multiple exposures. Night mode can result in the smearing of starlight or the blending of numerous stars into trails, which may not be desirable for capturing the distinct features of the night sky.
Flash
Flash should be turned off when capturing night sky images as it is unnecessary and can disturb the dark environment. Flash is designed for short-range illumination and is not powerful enough to reach distant celestial objects. Using flash in astrophotography can cause overexposure, wash out details, and create unwanted reflections or artifacts in the image.
By using manual focus and turning off night mode and flash, you have better control over the image capture process, allowing you to capture the true beauty and characteristics of the night sky. Experimenting with manual settings, such as exposure time, ISO, and aperture, can further enhance your astrophotography results. Dedicated astrophotography or manual camera apps can provide more control and flexibility in adjusting camera settings for capturing the night sky.
Start your celestial adventure with telescope photography
With the right gear, proper setup, and a good understanding of smartphone camera settings, capturing stunning images through a telescope is within reach for anyone passionate about astrophotography. Using smartphone adapters, astrophotography apps, and post-processing techniques opens up a world of possibilities for capturing the universe’s wonders. So, grab your smartphone, set up your telescope, and embark on an exciting journey to capture breathtaking images of distant galaxies, planets, and celestial phenomena. The cosmos awaits your creative vision!
How can I edit astrophotos made with a phone?
Editing astrophotos captured with a phone can help enhance the details, colors, and overall quality of your images. While the exact editing process can vary based on personal preferences and available editing tools. In this article, you will find some general steps to consider while editing your astrophotos. Transfer RAW or High-Quality JPEG Files If…
Unleashing Stellar Magic: Phone Astrophotography Guide
Welcome to the fascinating world of astrophotography, where you can capture the wonders of the cosmos using just your smartphone. Armed with curiosity and a willingness to explore, you’re about to embark on a cosmic journey that will forever change the way you perceive the night sky. In this beginner’s guide, I will walk you…
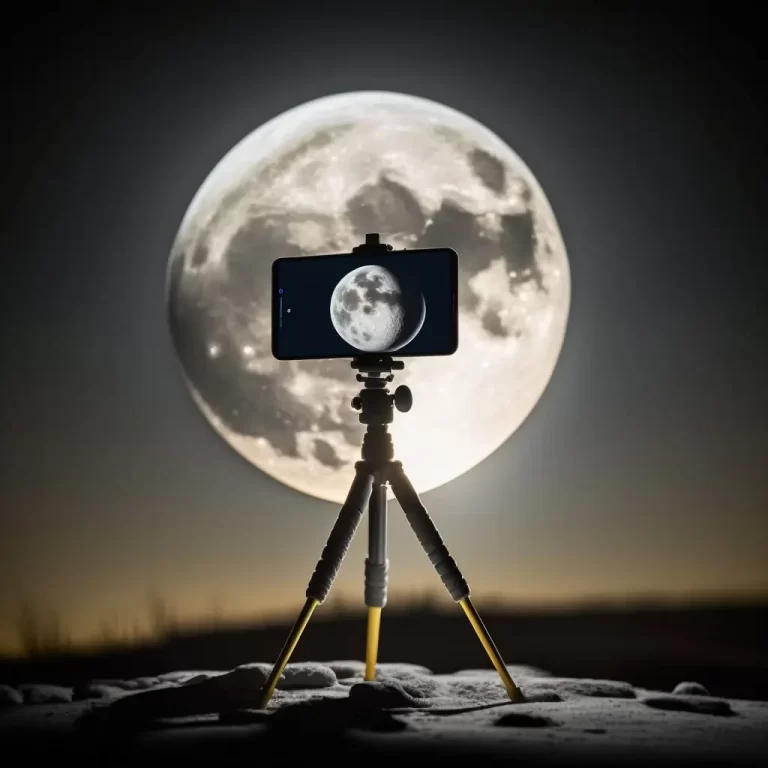
How can I capture the moon with my phone?
The moon is one of the most beautiful and captivating objects in the night sky, and with modern technology, it is now possible to capture its beauty with your smartphone. In this blog post, I will show you how you can take stunning images of the moon with only your phone, a tripod, and a…
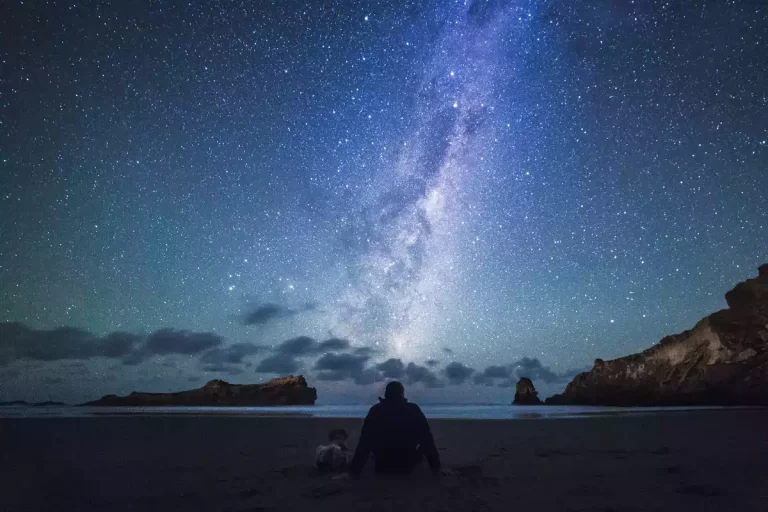
How do you photograph the Milky Way with a Smartphone?
You gotta love those stary nights with clear skies and thousands of stars shining in the darkness. One thing most landscape photographers love is an interesting sky. Well, the night sky can be one of the most interesting ones you can photograph, but how on earth can you capture the most exciting part of all…

How Can I Capture Northern Lights With My Smartphone?
Northern lights can be a rarity to come across depending on where you live. Many people capture the natural event with their professional cameras, but how can you capture the northern lights with your smartphone? You can capture the northern lights on your smartphone using landscape mode, turning off the flash, and changing the focus…