How do I manually focus my Android camera?
Sometimes, you need your camera phone to be a DSLR and manually focus before taking a picture. Does your Android camera have the ability to do so? Let’s find out.
Most new Android smartphones have a built-in manual mode in their stock camera app. If not, you can download a third-party application that allows you to focus manually when your camera is camera2api ready.
We will show you how to find the manual camera mode for your mobile phone and how to download a trustworthy third-party app to do the job for you.
➤ This post may contain affiliate links, purchases made through affiliate links may provide a commission for smartphone photography at no extra cost. Of course, all opinions remain our own. Please read the Privacy Policy for more info.
The gear I used for writing this blog can be found on my favorite gear page.

How do I get to manual camera settings on Android?
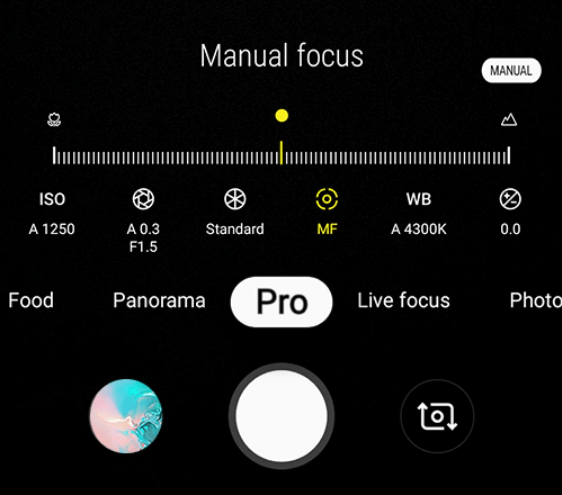
Although every smartphone is different, there is a common denominator in the Android camera settings. Go to the stock Android camera app and find the mode called:
- professional or
- manual mode
You might find it between slow mode, time-lapse, or panorama settings. Or you can find it at the bottom of your screen. Just scroll up, and the professional mode is selected.
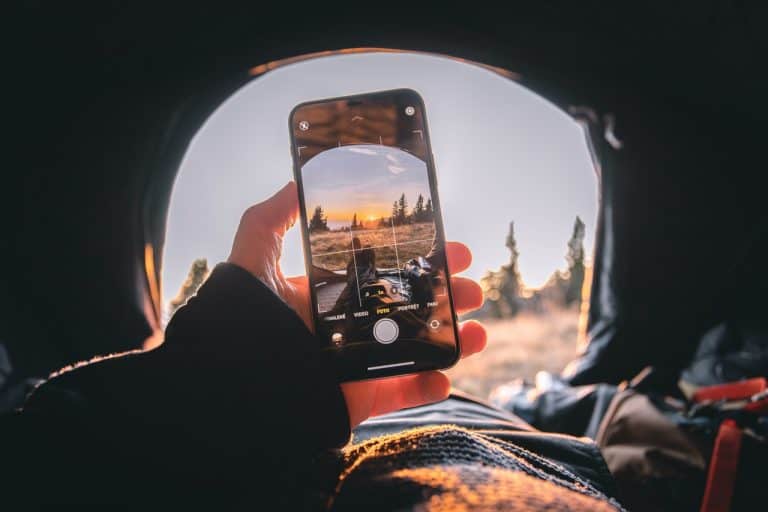
How do you manually focus?
Go to the manual mode of your smartphone camera and look for the MF icon to manually focus your smartphone camera. Tap the figure, and the function gets active. A slider appears on your screen, which allows you to focus manually. Give it a try. Find a shot with something in the foreground and background and try to focus on one of them. Easy, isn’t it?
Most of the time, you will probably shoot with autofocus, but there are situations in which manual focus is necessary. It will come in handy in these four situations:
- low contrast scenes;
- the subject itself is low in contrast or has a few striking details which make it more difficult for the camera to identify;
- the scene contains several subjects, and you want to pick the right object to be in full focus;
- the item has not arrived on the scene yet, but it moves fast, and you must focus before it appears.
Watch the video above on how to focus your smartphone camera manually
Other manual options in the pro mode
ISO or International Standards Organization
ISO is a camera setting that will brighten or darken the photo because of higher light sensitivity. As you increase the ISO, your images will progressively become brighter. The lighter it is at the scene, the lower the ISO number you need to take sharp, well-lit pictures.
ISO will help you capture photos in dark environments. But, you must be aware that increasing ISO increases noise. You must balance shutter speed, aperture, and ISO to have the best quality. Only use ISO to brighten your photo if you cannot have the same result as adjusting your shutter speed or aperture.
Common ISO values in Android phones are:
- ISO 50 (low ISO)
- ISO 100
- ISO 200
- ISO 400
- ISO 800
- ISO 1600
- ISO 3200
- ISO 6400 (high ISO)
➽ More on how to set and use ISO in this blog post.
White balance
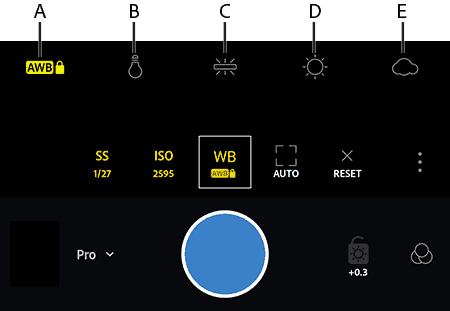
The removal of unrealistic color casts is called white balance. Your phone will give each value a name by using an icon. These are the most common values used in smartphone photography.
A) 3000-7000 K = AWB Auto mode
B) 3200 K = Tungsten light or incandescent
C) 4000 K = White fluorescent light
D) 5200 K = Daylight
E) 6000 K = Cloudy, twilight, sunset
Give all the values a try, and you will see what happens to the picture. Once you have mastered these values, you can use them as a creative tool. Give some eerie atmosphere to your early morning forest shot, or give the sunset warmth with extra oranges and reds in the photograph.

Shutter speed
How can you control the shutter speed with your Android camera? First, let us explain what shutter speed is. Shutter speed is the length of time that the shutter of the camera is open. Opening the shutter will allow light to travel to the camera sensor. It is the amount of time the camera takes to make the image.
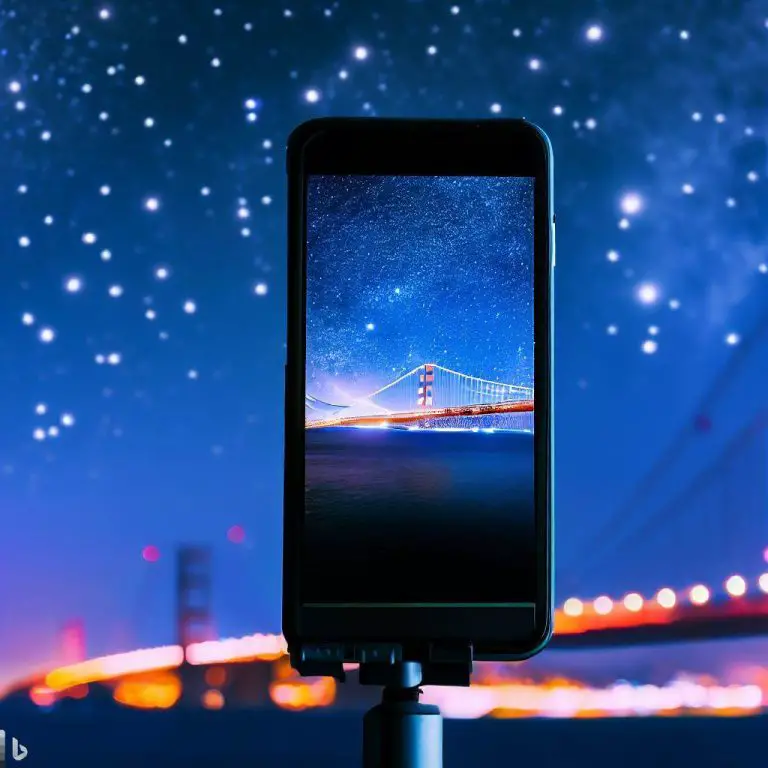
You can change the shutter speed by going to manual mode again and tapping the S on your screen. You can choose somewhere between 30 seconds and 1/4000 of a second. A prolonged shutter speed is used to photograph the northern lights, the Milky Way, or moving water. You will need a tripod, a remote shutter in low light conditions, and a slow shutter speed. The speed of the shutter can also be used to freeze motion. You can even eliminate movement from fast-moving objects like flying birds or race cars.
My favorite tripod (the one I use the most) is the 3K Joby Gorillapod. Other excellent options are the Acuvar 50″ Tripod (budget option) and the All-in-one Tripod (with remote shutter). You can find these tripods for a reasonable price on Amazon.
Another aspect of shutter speed is exposure. The longer the shutter speed, the brighter the picture. The sensor has a lot of time to gather the light. On a bright and sunny day, you will need a faster shutter speed so the photo is not overexposed. Aperture and ISO will also affect the brightness of an image.
Aperture
The aperture controls the brightness of the photo as well as the depth of field. This is the part of the scene that appears sharp in the picture. If the aperture is tiny, the depth of field is large, and vice versa. You can manually set the aperture by tapping the F on your phone. Be aware that very few smartphones allow aperture control because having an adjustable aperture on your mobile is difficult. Most phones simulate aperture control by using software to process the image. High-end Android cameras do have the option, though. Here are some smartphones that have aperture control:
We believe a variable aperture could be the future of smartphone photography. We will carefully follow the developments and keep you posted. These aperture developments will make the gap between DSLR photography and smartphone photography even smaller. In the blog post “Which Smartphone Cameras Allow Aperture Control, ” you can read more on smartphones with aperture control.”
Which is the best manual camera app?
Plenty of third-party apps on the market make manual shooting possible. We have some favorites that also allow RAW photographs for even more creative smartphone photography. In the blog post, you can read about RAW photography with your mobile phone: Can I Shoot RAW Images With My Phone?
These are, in our opinion, the best third-party apps for manual focus for Android phones:
- Adobe Lightroom Photo Editor
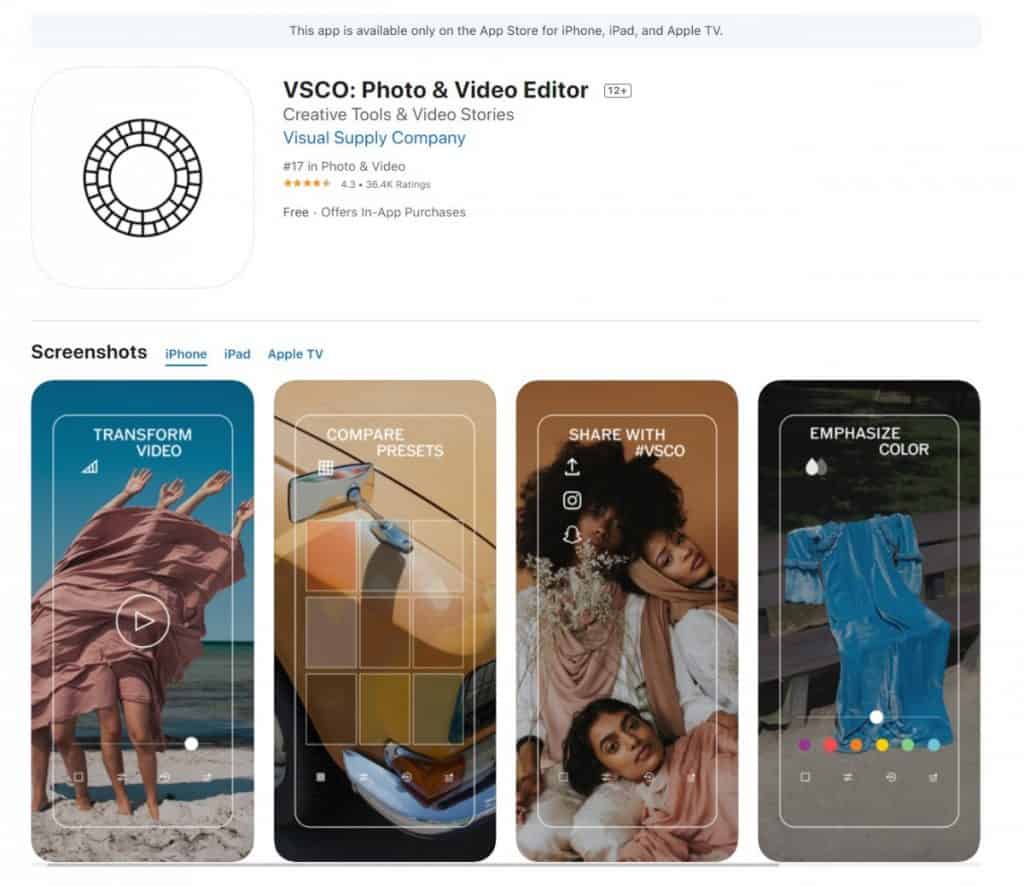
- VSCO: Photo & Video Editor
- Open Camera (FREE)
- Camera FV-5 Lite
- Manual Camera Lite: Professional Camera DSLR
- ProCam X – Lite
Manual ISO, focus, and shutter speed only work when your Android camera is camera2api enabled.
Why shoot in manual mode?
Shooting in manual mode allows you to be more flexible and creative. You can take your smartphone photography to the next level. The manual mode allows you to select your focal point manually. There are three main reasons to use this professional setting:
- It gives you creative control of your image;
- You can deal with tricky light situations;
- You will get consistent exposure.
It might look daunting to you. But practice will pay eventually. Just try taking the same picture in manual mode with different settings and try to understand what it does to your image. You will learn as you go, and your photographs will improve every time you practice. Some might say the best phone is the one you carry with you. So why not turn your smartphone camera into a tiny and lightweight DSLR?
Read the blogs in the ‘learn’ category to learn more about Smartphone Photography.
I am having a hard time manually focusing.
Sometimes, your smartphone camera is not working the way you would like. You just can’t seem to get your subject into focus. It might be a software hick-up or a dirty lens. In this blog post called “My Smartphone Camera Doesn’t Focus. A Quick Fix” you can find a step-by-step solution to this problem.