Can I shoot RAW images with my phone?
Shooting RAW pictures might sound a bit daunting, but it is not as difficult as you might think. It is well worth the effort to get to know this kind of photography. Your smartphone images will shine, among others.
Many new smartphones support RAW images. You will find the RAW shooting setting in the stock app that comes with your phone. However, the default camera app on the iPhone doesn’t support capturing RAW images. If your camera does not have a RAW option, you can download an Android or iOs app in the app store.
Let’s get a bit more familiar with RAW photography, so you can shoot RAW yourself and enjoy the process. All you need is your phone and for about 7 minutes.
➤ This post may contain affiliate links, purchases made through affiliate links may provide a commission for smartphone photography at no extra cost. Of course, all opinions remain our own. Please read the Privacy Policy for more info.
The gear I used for writing this blog can be found on my favorite gear page.
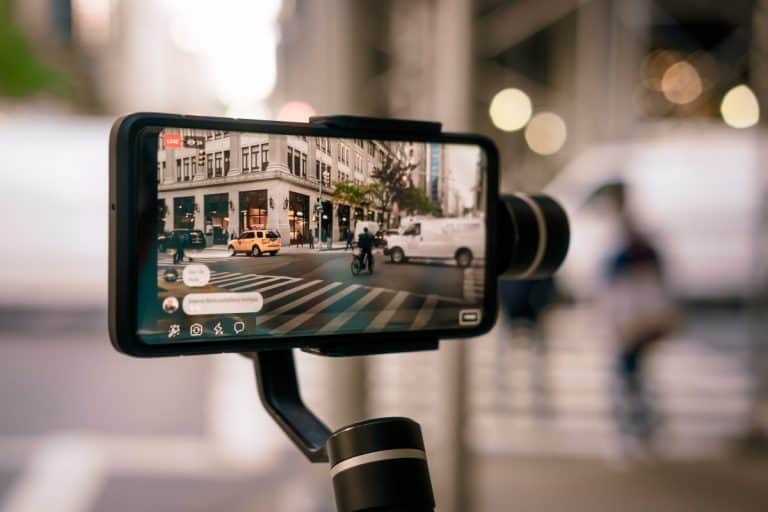
You can shoot RAW with your phone
So we have already established that shooting RAW with your phone is possible. New devices come with a built-in option, and other phones and iPhones can use an Android or iOs app for making raw images. Start by checking whether or not your device has such an option. Or download one of the apps mentioned below.
For example, open the camera app that comes with the phone. Then, go to options, choose picture size, and you will generally find a RAW solution there. However, sometimes you have to change the mode to PRO or Manual first to toggle to RAW.
Android and iOs apps for RAW photography
If your phone does not have a RAW option, you can download an app from the Android Playstore or iOs Apple store. Here are some commonly used apps you can try. In addition, some apps have free options:
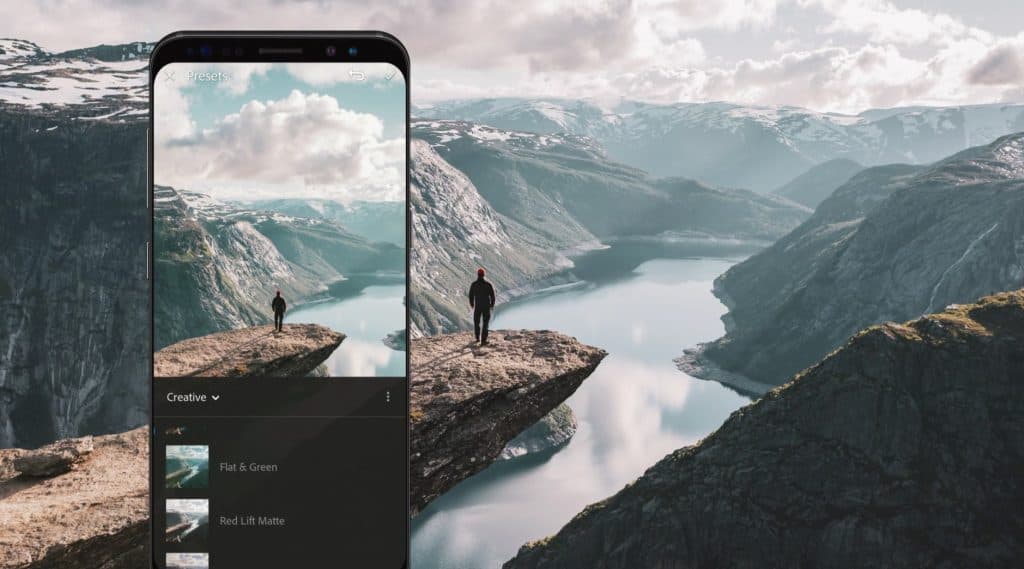
- Adobe Lightroom Photo Editor > Android & iOs
- VSCO: Photo & Video Editor > Android & iOs
- Open Camera (FREE) > Android
- Camera FV-5 Lite > Android
- Camera+ 2 > iOs
- Halide > iOs
What is a RAW file?
Images shot in RAW are uncompressed and contain a lot of information about the photo. It includes direct image data from your smartphone with no loss of quality. The result is an uncompressed, undeveloped, and unprocessed data file. This significant amount of data makes the file much bigger than JPEG files. Your camera phone RAW files contain pieces of information such as sharpness, contrast, light, color profile, and metadata. These files need to be processed to get a good photo with beautiful colors, contrast, and sharpness.
What is the difference with a JPEG file?
JPEG or JPG is a widely used image format processed according to the presets you have chosen before shooting the image. That means that the JPG file is processed within your phone’s camera. You have set color temperature and exposure by using specific settings. The camera processes the image with blacks, contrast, brightness, noise reduction, and sharpening. Finally, the file is complete and ready to be viewed, printed, or used otherwise.
JPEG is short for Joint Photographic Experts Group to create this image standard. These files are much smaller than RAW photos. The Dynamic Range (the entire range of tone details from the darkest shadows to the brightest highlights) takes up a lot of extra MBs when shooting RAW.
Which filetype should I use
Both formats are helpful. It depends on the reason why you are taking the photo. Is RAW better than JPEG? Yes, definitely. It takes more time to use the correct settings, and you need to learn how to process the images. But once you get used to shooting RAW, you will have great results.
Why Would I use JPG?
Processing is done for you.
As we mentioned before, JPG files are processed within the camera. Your settings will choose the right color profile, tone curve, contrast, and white balance according to your settings. Your smartphone makes the final image. Especially for new photographers, it is good to practice without worrying about processing.
Filesize is smaller.
Another essential factor can be file size. JPG files are considerably smaller dan RAW data. Therefore, JPG files give you the flexibility to take lots of pictures without worrying about memory space.
Easy shareable with your audience
Because the images have already been processed, you can share them instantly with your audience. In addition, the size makes it easier and faster to upload to your social media or photo profile on your website. It is also immediately possible to print your photos and send them to your clients.

Why should I use RAW
High-quality image files
One of the most significant advantages of shooting RAW is that the file contains absolutely every data from the camera sensor of your mobile phone. There are no details removed from the file. You can use every bit of information to make the best image possible. For example, you can uncover fine details in the shadows or recover overexposed areas in the highlights. It is notably helpful in shooting conditions that are not optimal. You can make many adjustments to these files without degrading the image.
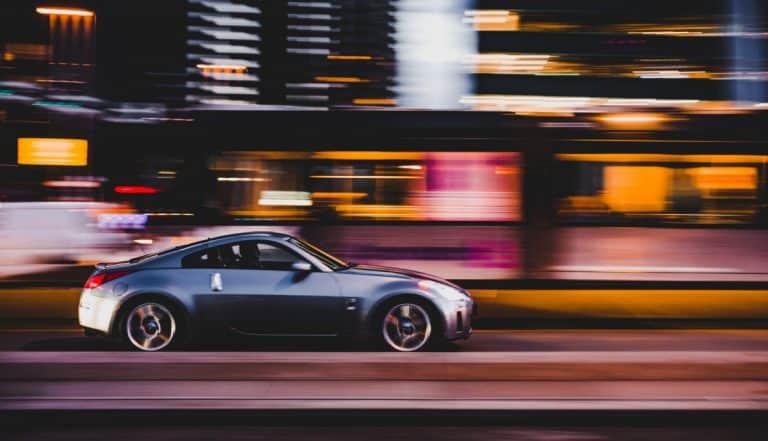
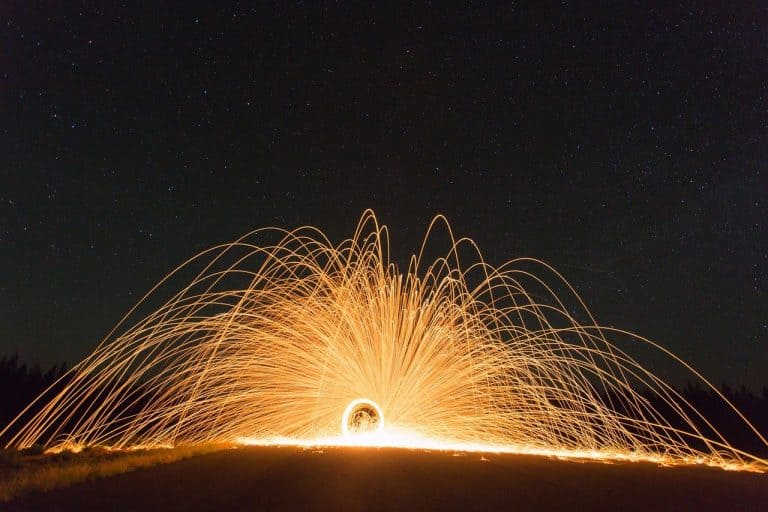
High dynamic range
You can capture a lot of light and shadow information in your photo. The files have a very high dynamic range. You don’t have to worry about over or underexposing your image. RAW data can be beneficial in these kinds of situations. It is also convenient in cases where you cannot control the lighting.
Better level of brightness
There are more steps between black and white in RAW than JPG files. JPG records only 256 levels of brightness and RAW, roughly between 4000 and 16.000. Those additional steps give you the freedom to make more adjustments to the data without compromising the quality. These adjustments in exposure, blacks, fill light, recovery, contrast, brightness gives you ample opportunities.
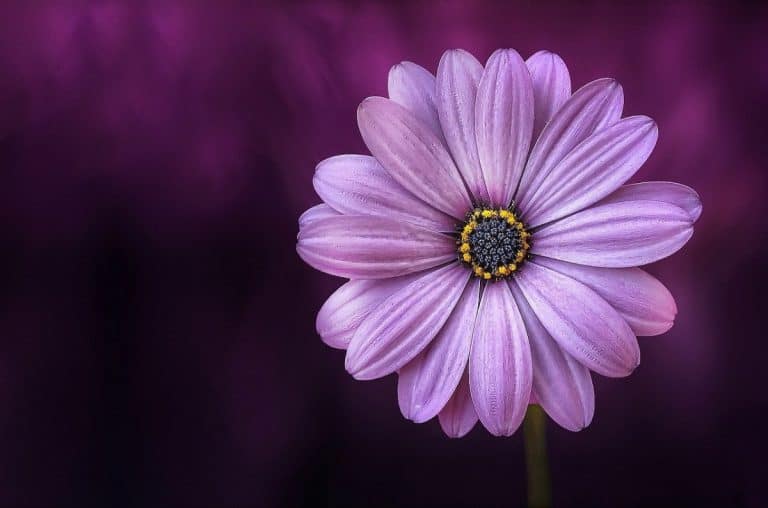
More color options
JPEGs have a limited range of colors and tones because they are only 8-bit. RAW images are around 16-bit. The camera on your phone can capture infinite color possibilities. But, when it converts into a JPG image, most colors will not be used or appear in the result.
You can process your images to your liking.
Finally, you can treat the RAW image precisely as you would like it to be. You can even transform underexposed photos or have no details in the shadows. RAW files don’t lose quality every time you open them, make adjustments, and save again as JPG files do. It might take a bit of time to learn how to process an image, but it is worth it.
How can I process a RAW file
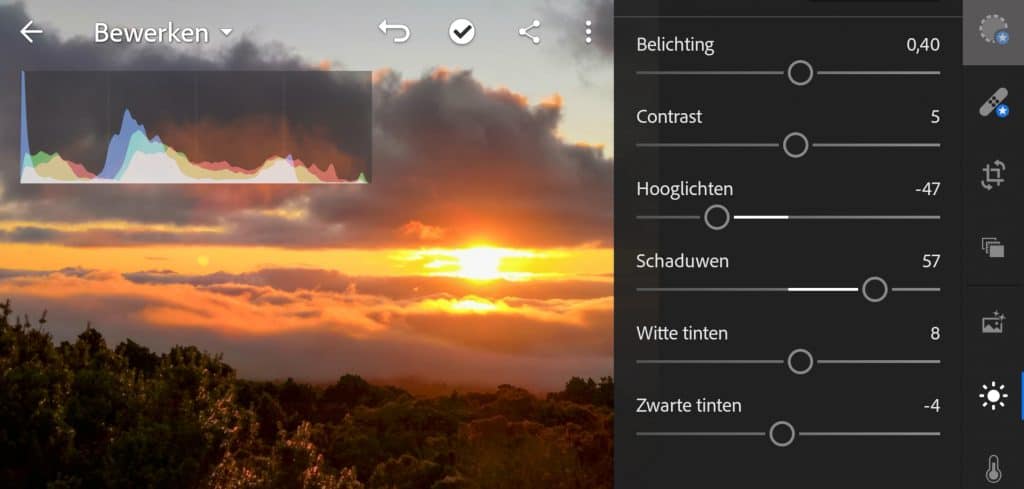
You can process your RAW camera files on your phone or another device like a tablet or laptop. There are many different apps and software programs you can use. You can choose between paid and free versions. With any application, you can use these steps to enhance your RAW photo:
- Fix white balance
- Adjust the exposure
- Set black and white points in histogram
Ideally, the histogram runs from bottom left (dark colors) to bottom right (high lights)
- Change the contrast
- Adjust curves
A commonly used technique for adjusting images is called an S-curve. It deepens the shadows and brightens the lighter portions.
- Choose a color profile
Adjust color, vibrance, and saturation
- Add a graduated filter (if needed)
- Apply sharpening (if required)
And there you have it! Your first processed RAW file. Let’s see which application you can use on your smartphone to accomplish this process.
Final thoughts on shooting RAW with your mobile
The development of smartphone cameras is proceeding at breakneck speed. And photography apps will follow at the same pace. It is just a matter of finding suitable applications and software for yourself. Give RAW photography a shot; try different apps for taking photos and processing them. You can even use Lightroom presets to create instant remarkable results. Remember, have fun making images, and you are halfway there.

How do I manually focus my Android camera?
Sometimes, you need your camera phone to be a DSLR and manually focus before taking a picture. Does your Android camera have the ability to do so? Let’s find out. …
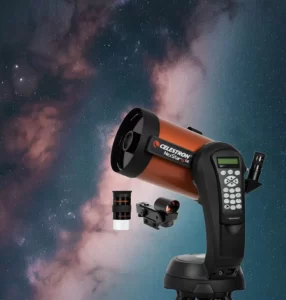
How to Take Images Through a Telescope with Your Smartphone
The universe’s wonders have always fascinated me; telescopes provide a window into the celestial realm. With the advancement of technology, it is now possible to capture stunning images of the…
How can I edit astrophotos made with a phone?
Editing astrophotos captured with a phone can help enhance the details, colors, and overall quality of your images. While the exact editing process can vary based on personal preferences and…
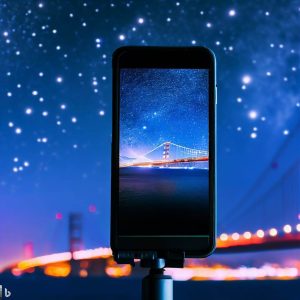
Unleashing Stellar Magic: Phone Astrophotography Guide
Welcome to the fascinating world of astrophotography, where you can capture the wonders of the cosmos using just your smartphone. Armed with curiosity and a willingness to explore, you’re about…
How can I capture the moon with my phone?
The moon is one of the most beautiful and captivating objects in the night sky, and with modern technology, it is now possible to capture its beauty with your smartphone….
Can you use a lensball with a phone camera?
So you would like to take some incredible images with a lens ball while using your smartphone camera? You have come to the right place. I will give you tips…