The Ultimate Guide to Action and Motion Photography with a Phone
Capturing movement with your smartphone can be a bit of a challenge sometimes. But it is fun to do. Did you know there are seven ways to capture movement? You can read all about capturing movement in this ultimate guide to action and motion photography for smartphones.
Let’s start with these ways to capture moving objects with your camera phone.
You can get creative with these seven ideas. Try them all and pick your favorite and create stunning images. Here is how it is done!
➤ This post may contain affiliate links, purchases made through affiliate links may provide a commission for smartphone photography at no extra cost. Of course, all opinions remain our own. Please read the Privacy Policy for more info.
The gear I used for writing this blog can be found on my favorite gear page.

1. Freeze motion
You need to pick a fast shutter speed to capture and freeze motion, like water drops, a jumping whale, or a moving flag. So the object appears to stand still in the image, which is incredibly cool when you can take a picture of something hanging in the air.
Faster shutter speed
Depending on the amount of light, you can start at a shutter speed of at least 1/250th of a second. See what happens to the subject. Does it appear crystal clear and frozen in the image? If not? Try a shutter speed that is even faster. When you want to photograph a car passing by, you will need a much faster shutter speed than someone walking. Keep your subject in mind when you choose the correct settings.
Watch the exposure
Keep an eye on the exposure of your composition. Fast shutter speed may result in underexposed pictures because of the tiny amount of light that comes into the sensor of your smartphone camera.
ISO values
Although you might be tempted to crank up the ISO to get enough light sensitivity, try to keep it as low as possible. Raising these values too high will harm the sharpness of your photographs. Don’t be afraid to use ISO, though, but do so wisely.
Choose a focus mode
Select continuous auto-focus to be able to focus on the right part of the image. It will allow you to keep the focus once the camera is focused on the subject. You will need a manual or pro mode on your camera to use the AF-C mode. If your camera does not have a manual mode, you can download a third-party app like Lightroom, Open Camera, or VSCO.
Wide aperture
There are a few Samsung phones that allow you to change the aperture. If so, use a wide aperture. The smaller the number, the better chance you have of capturing the whole subject sharp when moving. If your smartphone does not have an adjustable aperture, you’ll need to use shutter speed and ISO to get the desired results.

2. Motion blur
Motion blur is a creative way of capturing your moving subject. The moving object turns into a recognizable smudge or haze. It will give the photo a dynamic effect.
You can practice on cars, people walking by, ocean water, and waterfalls. Moving clouds, people walking in a mall, and passing trains are good practicing objects as well.
Slow down the shutter speed
The sensor of your smartphone camera needs to ‘see’ the motion of your subject. That is why you need to slow down the shutter speed. The object’s velocity will determine how slow the shutter speed needs to be to capture motion and not overexpose the image.
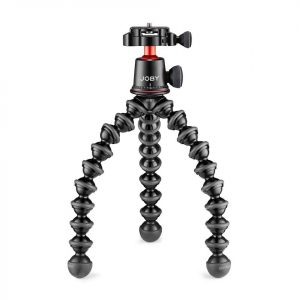
Use a tripod
When you take images with slow shutter speed, you will need a tripod. If you use a longer shutter speed, the camera phone will be sensitive to any movement or vibration. Try using a remote shutter as well. These two items will make your smartphone photography a lot more fun. We have put together a list of sturdy yet lightweight tripods for you to enjoy.

Compensate the amount of light
With a DSLR camera, you can compensate for the amount of light coming into your sensor by adjusting the aperture. However, that is not possible with most smartphones. Instead, you will have to use the ISO to adjust the light sensitivity. Therefore you will need to choose a low ISO number.
Combined with a Neutral Density filter made for mobile phones, you can create a good exposure. An ND filter is like putting sunglasses on your smartphone. Another filter that has a similar effect is a polarizing filter. However, keep in mind that polarizers cut out light, but they can impact the look of your image in other ways.
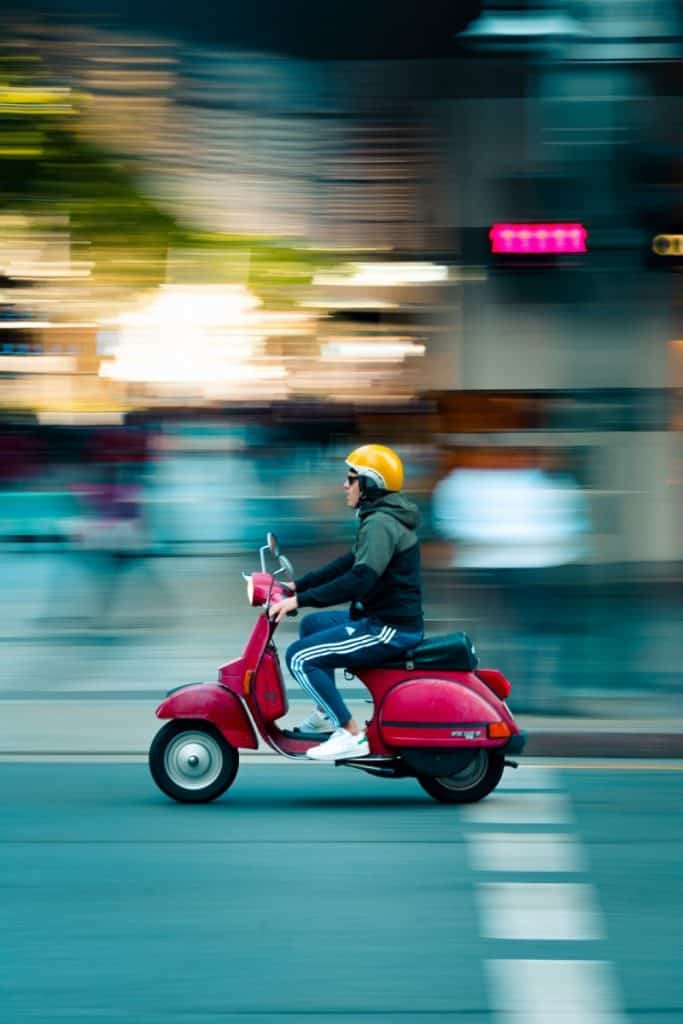
3. Panning with your phone
Panning is a smartphone photography technique that combines slow shutter speed and camera motion focused on your moving subject. You can keep your object in focus while blurring the background. It is best done in landscape mode. The results can be excellent, but you will have to practice. It is not an easy technique, but you have a great starting point with the steps below.
How do I take a panning shot with my phone?
- To start using this technique, find some fast-moving objects like cars, cyclists, running dogs, or skaters. When you are new at panning, find a relatively straight trajectory, which allows you to predict where the subject is going.
- Use the manual or pro mode of your mobile camera so you can select a shutter speed.
- Select a shutter speed that is slightly slower than you would typically use, like 1/30 of a second. When you are getting used to panning, you can even go slower. Depending on the light and the speed of your subject, it will be somewhere between 1/60 and 1/8 of a second.
- Position yourself in the right spot where you can stand comfortably and stable. Put your in shoulder width for even more stability. Find a single colored or plain colored background; it tends to work best.
- Hold your smartphone in a horizontal position (landscape) and put your elbows in your sides. It will reduce shaking while moving the phone from side to side. You can use a monopod or tripod with a swiveling head to minimize camera shake.
- Participate where the subject will enter the frame and pre-focus at that point. You can also select continuous focus to help you get a sharp moving object. All you have to do now as soon as the subject enters the frame is to tap on it to lock focus and pan your phone. This last technique might be to difficult with really fast-moving objects. In that case, you will need to pre-focus.
- As your object approaches, release the shutter and smoothly follow it with your smartphone. The best way is to rotate your entire body and not just your arms. This way, you can keep your elbows locked into your side.
That’s it! You have made your first panning photo with your smartphone. Don’t stop now. Keep trying, and you will get better at it.
4. Invisible motion
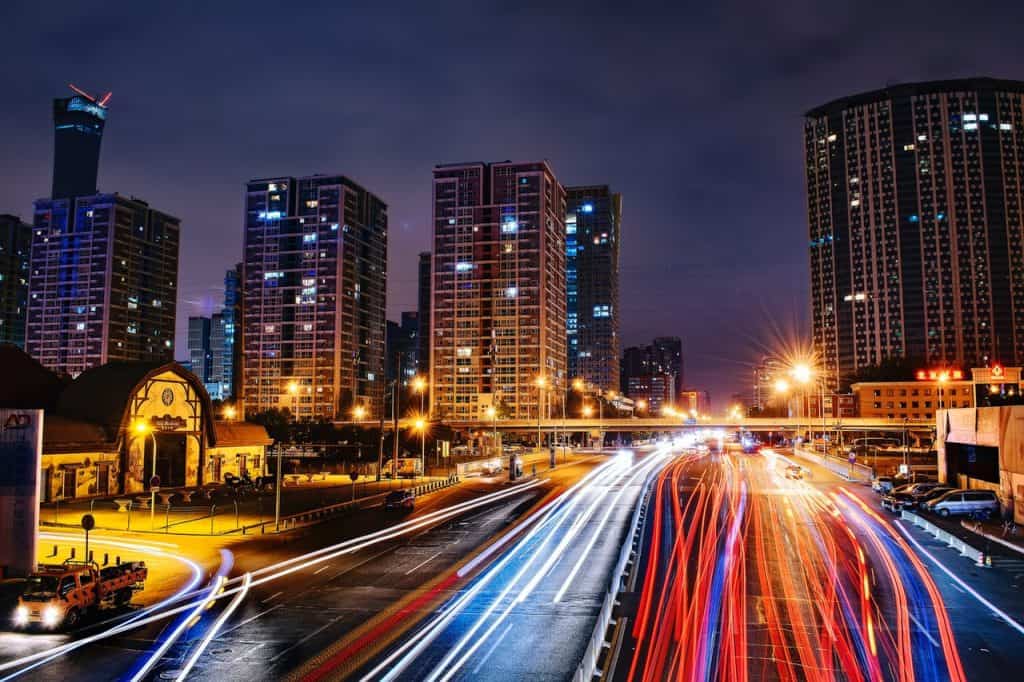
It is a very cool technique. You will photograph movement, but you cannot tell what the subject looks like. A well-known example of invisible motion is light trails. You can see the head and tail lights of cars and busses, so you know they are there, but you can’t see the automobiles.
You can also try photographing people walking by in the street with a longer shutter speed. Again, you will see a ghostlike presence in the photo. You will need a tripod, a longer shutter speed, light compensation with ISO, and an ND filter. For example, this affordable clip-on ND filter from Neewer or this fancy, professional (and excellent) Moment ND filter kit. You will need to buy a separate smartphone filter adapter that you can use on other filters.
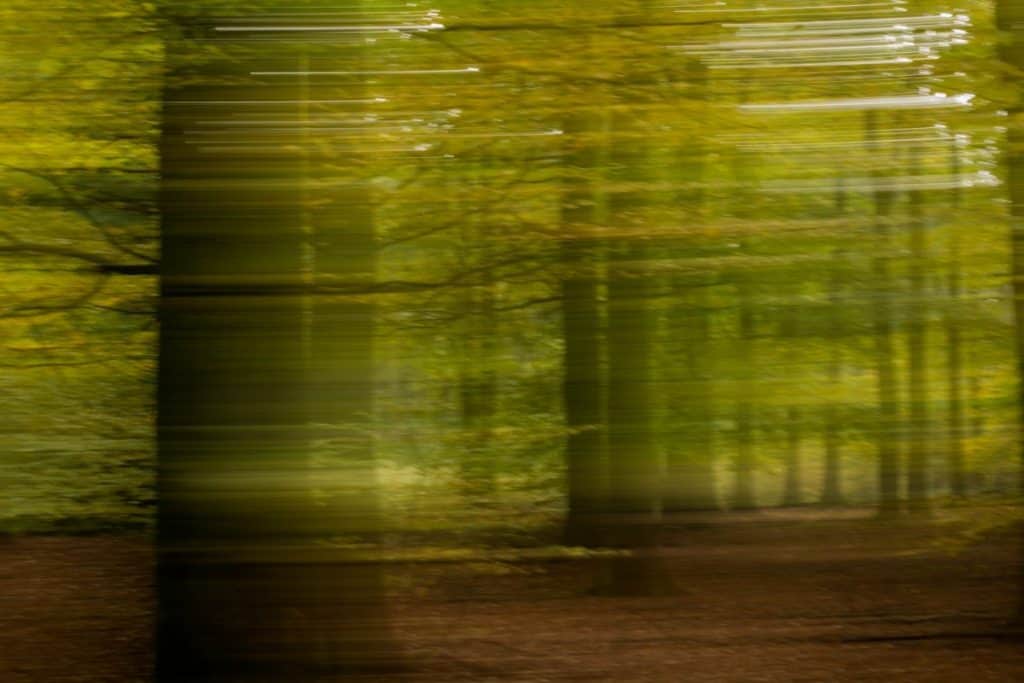
5. Blurred
Sometimes totally blurred images can tell a great story as well. Give it a try in the forest. You choose a longer shutter speed, focus, and slightly move the camera phone from side to side. Trees will change into brown and green smudges. It kind of looks like a painting.

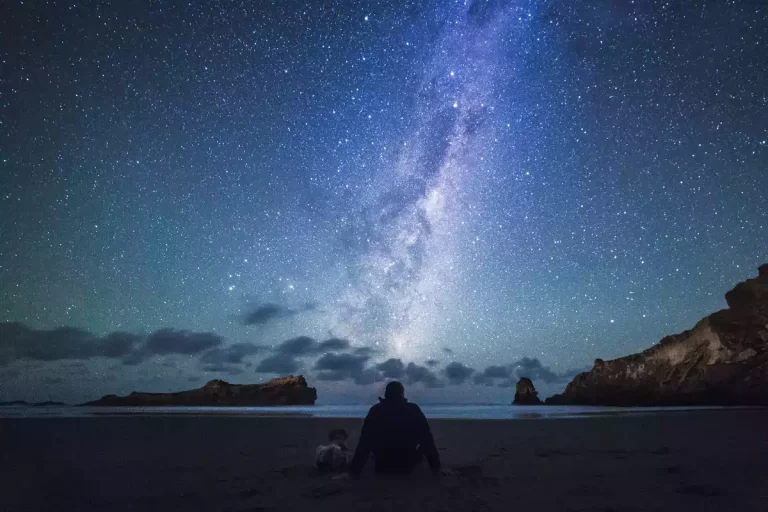
6. Chronophotography
With chronophotography, you can capture movement by taking several images and combining them as one. It can be an exciting technique to use in individual action sports like skiing and skateboarding. But you can also use it on your pet cat while it is hunting in the backyard. Or try it on a clear night to capture moving stars. By putting multiple shots together, you can create star trails.
Use a tripod to prevent camera shake and choose a continuous shooting mode. The shutter speed is fast because you want to freeze every part of the motion. You can use Adobe Lightroom software to put all images together as one.
Timelapse example shot with a smartphone from Morten Rustad
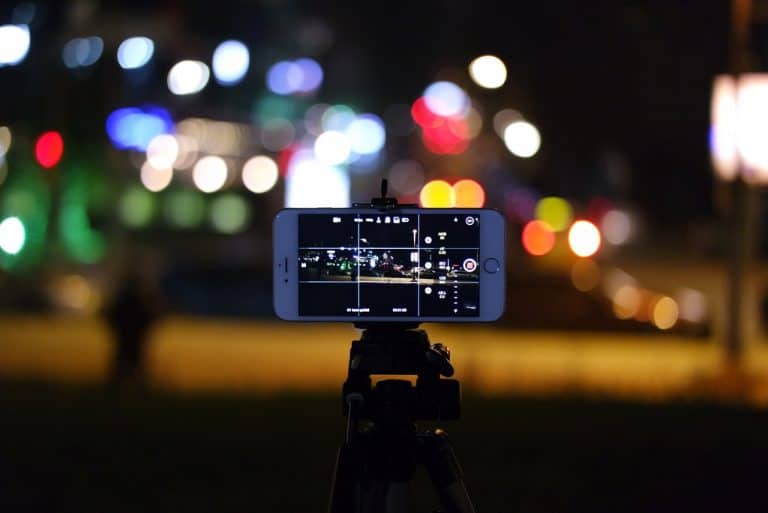
7. Timelapse
Capture movement with a timelapse. You will take pictures with a specific time between the images and combine them into a video.
Most smartphones come with a timelapse option in your camera settings. It does everything from taking pictures/video to editing. Bring a tripod; you do not want your camera to move when you are recording movement. It will get too busy for the viewer’s eye.
There are three ways to capture a timelapse.
- The subject in the foreground is moving, and the background stays relatively still. For example, filming large crowds in and around buildings.
- The subject in the foreground stays relatively still, and the background is moving—for example, moving clouds, stars, or shadows.
- Combine the first 2. The subject(s) in the foreground is moving while the background shows the passing of time—for example, people walking on the beach while you photograph the sunset.
If you want an extra challenge, go for a hyper-lapse. Move the tripod between each photo. You will create movement within the timelapse.

14 tips for making stunning photos of moving objects
The following tips will help you create stunning images of moving objects. With these basic to moderate techniques, you can turn your smartphone into a great digital action camera.
- Learn the basics of smartphone photography with our 25 tips to make your smartphone pictures look professional article.
- Get to know your smartphone camera. Find out what you can and cannot do. Is there a manual mode in the native camera app, or do you need to download a third-party app?
- Take time to plan. What kind of picture do you want to take? What type of equipment do you need to bring to the scene?
- Invest in proper quality gear without breaking the bank. Buy yourself a versatile yet lightweight tripod and ND filter.
- Learn to see the light. Lighting is everything in smartphone photography. Take advantage of natural lighting. See what light does to your images? Understand how ISO and shutter speed work.
- Be patient. Find a good spot to stay. Spend a reasonable amount of time in the same scene. Take time to adjust your camera settings until you get the results you prefer. Wait for the right moment to take your images.
- Do not zoom. Most smartphones only come with optical zoom, which crops your photo. The subject appears closer, but it does no good to the quality of your photographs.
- The subject needs space so you can include movement in the image. Action shots are at its best when there is room to ‘travel.’ When you look at such an image, the mind will fill in what happens next. It is much more pleasing for the human eye.
- Use the burst mode to take multiple pictures of the same moment. The change of getting a perfect shot increases. Capture multiple frames per second. You can activate it in the settings of the camera app, or you can hold down the shutter button to enable it automatically.
- Take RAW images and boost the resolution in the camera settings. It might not be set to the highest possible resolution. You will get more detail in your pictures when you do so. Check if your camera app still works with burst mode when choosing the highest amount of megapixels.
- Choose a 4:3 aspect ratio to get the highest amount of megapixels for sharper images. Some smartphones have a 16:9 ratio as a default setting.
- Use manual mode or pro mode to adjust the shutter speed, ISO, and white balance. Some Samsung smartphones can even change the aperture.
- Does your phone have enough memory to store large RAW files? Add a memory card if possible. RAW images with a 4:3 aspect ratio and full resolution can take up from 6 MB to about 24 MB.
- Edit your images when you get home. Focus on taking photographs on the scene and don’t start editing before you get back home. Not selecting and adjusting on the scene gives you a better opportunity to make the perfect shot. You won’t be distracted by reviewing or editing images on your phone. Review your pictures and use the best ones to edit in Lightroom, Afterlight, or Photoshop.
- Practice makes perfect. Try different settings and scenes and see how your smartphone camera responds to movement photography. Adjust according to the result, and try again. You will get the hang of it.
Final thoughts on action photography with your smartphone
All these tips should get you started with action and motion photography with your smartphone. To make it even easier, we have put together a list of third-party apps you can use to edit your (RAW) images, use manual camera mode, and take time and hyper-lapse videos.
Editing apps for Android and Apple smartphones
- Lightroom for Android & iOs
- Photoshop Express for Android & iOs
- Snapseed for Android & iOs
- Darkroom for iOs
- VSCO for Android & iOs
Manual camera apps for Android and iPhone
- Adobe Lightroom Photo Editor
- VSCO: Photo & Video Editor
- Open Camera
- Camera FV-5 Lite
- Manual Camera Lite
- ProCam X – Lite
Chronophotography app
There aren’t many chronophotography apps that work correctly. However, Android users can give Motion Shot a try.
- Motion Shot for Android
Time-laps apps for Android and Apple Phones