Easy Guide to Taking and Editing RAW Photographs with your Phone
Have you ever seen a photograph online that looks so perfect, so beautiful, so unique that it takes your breath away? Maybe the photographer used a RAW format. If not, they probably should have!
In this blog post, we will be discussing what RAW photography is and how to take these kinds of images with your phone. You’ll also learn about editing them in Lightroom and Snapseed for mobile.
➤ This post may contain affiliate links, purchases made through affiliate links may provide a commission for smartphone photography at no extra cost. Of course, all opinions remain our own. Please read the Privacy Policy for more info.
The gear I used for writing this blog can be found on my favorite gear page.

What is a RAW image?
A RAW image is the original, unprocessed photograph taken by your smartphone camera. The most significant difference between a RAW and JPEG image is that some processing level has been done to make it look like a ready-to-print file.
Colors are adjusted (sometimes dramatically), noise suppressed, sharpened, and more. In contrast with this, RAW images are very detailed and have unlimited options to edit and recover details. I always prefer to take RAW photos with my phone to preserve as much data in my images.
More differences between JPEG and RAW files
Another difference between JPEG and RAW is the bit depth. JPEG images are limited to 16 million colors, whereas RAW files can have over a billion colors (16 bits).
When it comes to digital photography, RAW files are different from JPEGs. A RAW file is a storage device for more accurate colors and details than those in a JPEG. When you have your camera set on RAW mode (which most smartphone cameras can), it captures 12-bit color information that can be stretched to 16 levels. When you save the file as a JPEG, it will compress that information and limit it to only eight levels.
JPEGs can have a saturated look
A JPEG will have a more saturated look than the camera’s RAW file, which is why many photographers prefer shooting in RAW when they are looking for richer colors. It also has better noise suppression features as well so you can get cleaner photos without using too much editing software on your mobile or computer.
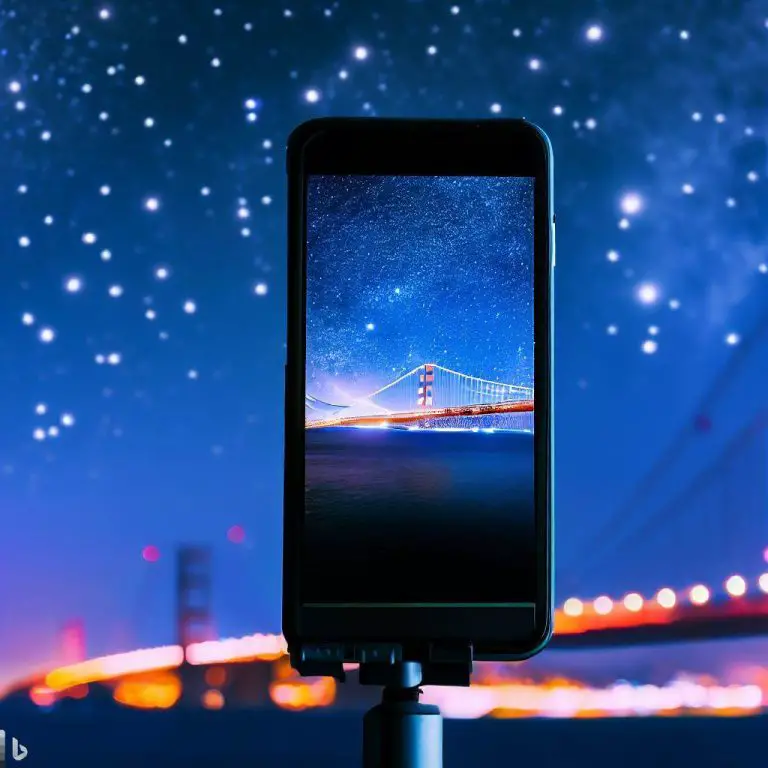
It might all sound pretty complicated, but luckily every smartphone can shoot both JPEG and RAW at any time. To activate this on your phone, you’ll need to go into settings and find “Image Quality.”
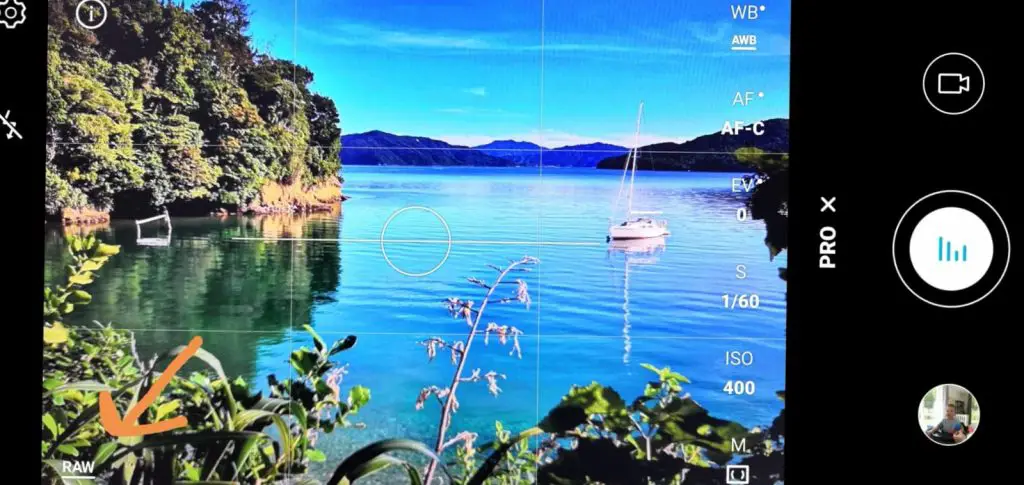
How can I set my Smartphone to RAW settings?
To set your smartphone to RAW settings, you need to first go into the native camera app and find the option for shooting in RAW. You can find the RAW settings in the manual or pro mode of the app. If this doesn’t work, try looking through your phone’s manual or checking online for instructions specific to your device (iPhones typically have a different approach than Android devices).

If your native camera app does not come with a manual, pro, or professional mode, you can download a third-party camera app with these functions, such as Camera+. Here are a few decent mobile apps for you to try:
- Adobe Lightroom Photo Editor > Android & iOs
- VSCO: Photo & Video Editor > Android & iOs
- Open Camera (FREE) > Android
- Camera FV-5 Lite > Android
- Camera+ 2 > iOs
- Halide > iOs
When you turn on the option for RAW mode, it will tell your phone to save all images in this format. You can then use a computer program like Lightroom Mobile and Snapseed to edit them (or any other editing software). The following section explains how you can do so.
How can I edit my RAW Images in Lightroom Mobile?
To edit your RAW images in Lightroom Mobile, you need to open the app and find your camera roll. From here, tap on a single photo that is of interest. Once this is done, you should see side menus appear with options such as “Edit” or “Share.” Tap on edit with other editors and start changing your images step by step.
If you’re interested in editing RAW photographs with an external app, it is best to use Lightroom for Android or iOS. The basis adjustments are free, and you can purchase additional features for a couple of dollars per month.
Lightroom Mobile is available on iOS or Android devices through your respective application store (iTunes, Google Play). Lightroom can be downloaded on any device and offers many powerful tools for processing your images. In the past, the program was only released as desktop software, but now there are versions of Lightroom available for pretty much all iOS and Android devices.
How can I edit RAW images in Snapseed?
If you are looking for a fast and easy way to adjust your images on the go, I recommend using Snapseed for Android and iOS. Snapseed is an entirely free and easy-to-use photo editing app with many of the same tools as Lightroom. The interface of Snapseed is organized in different modules; all you need to do is slide left or right on your image to change the selected item, like brightness, highlights, and shadows.
The easiest way to adjust your RAW images in Snapseed is by tapping the “Edit” button on your image. It will take you into a module for adjusting brightness, contrast, and other edits like filters similar to Lightrooms’. One of my favorite things about Snapseed is the ability to use a brush to edit your photos. It is very helpful for adding or removing specific areas of the image.
What is the difference between Lightroom Mobile and Snapseed?
Lightroom Mobile and Snapseed both have many the same editing features, but their interface is very different. Lightroom is more like a desktop app, whereas Snapseed has been designed to be used on mobile devices with touch gestures that make it much more straightforward and intuitive.
While Snapseed is completely free, you will have to pay a monthly fee for the Lightroom Mobile app. It costs around $4.99 a month. You can then access selective adjustments, healing brush, adjust perspective, vignetting, and batch editing.
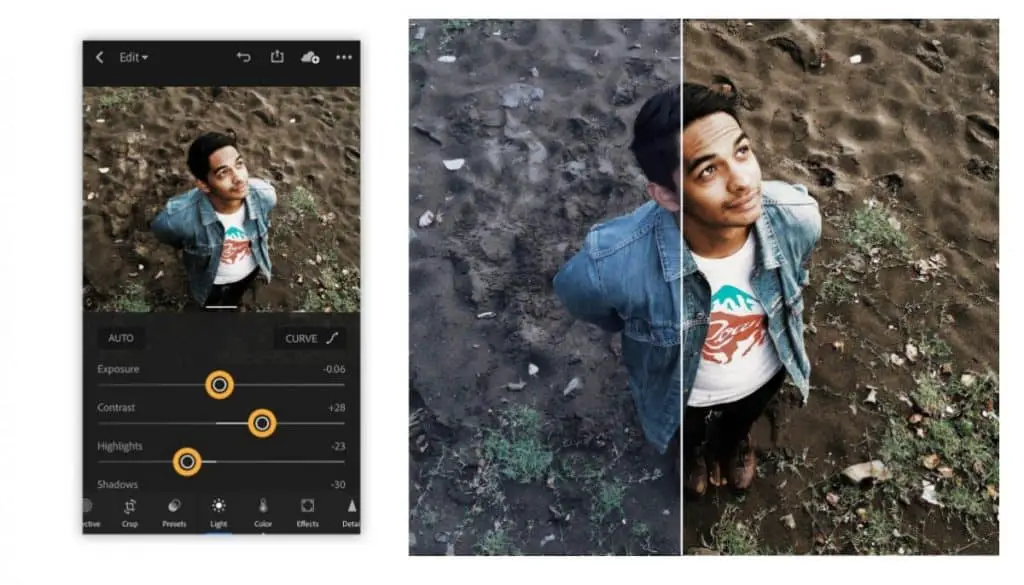
How can I adjust the brightness of an image in Lightroom Mobile?
In Lightroom Mobile, there is a slider to adjust the exposure of an image. If you tap on this slider, it will change your brightness values by changing its position from left to right.
You can change the settings for your images on your mobile device in Lightroom Mobile. To get the best results, you will want to adjust these settings to have more exposure and fewer shadows, and some contrast and highlights in them. You can use the sliders to adjust the values or tap on the values to change it by 2 per tap.
How can I adjust the brightness of an image in Snapseed?
Snapseed lets you adjust the brightness of your photograph by sliding your finger left to right (or vice versa) on the screen. It takes a bit of practice but you will get the hang of it, but you can be more precise than Lightroom with this method.


To adjust the brightness of your photos in Snapseed follow these steps:
- Go to “Tools” and choose “Tune Image”
- Tap on the slider icon at the bottom of your screen
- Choose Brightness (you can also pick Contrast, Saturation, Ambiance, Highlights, Shadows, and Warmth)
- Move your finger from left to right or right to left to increase or decrease the brightness.
You can check the before and after image by holding and releasing the icon in the top right corner.
What are the basic steps to edit RAW images in Lightroom for Mobile?
- Open your image in Lightroom for Mobile
- Adjust camera settings, like focus, white balance, and exposure
- Adjust image tone and color
- Add filters if you want
- Save the photo to your phone or share it with others
Don’t overedit your RAW images on your phone. Over processed images don’t look natural. Think about all those oversaturated, over-processed images that you see on your social media feeds and compare them to the ones in this article. There is a stark difference between what’s aesthetically pleasing.

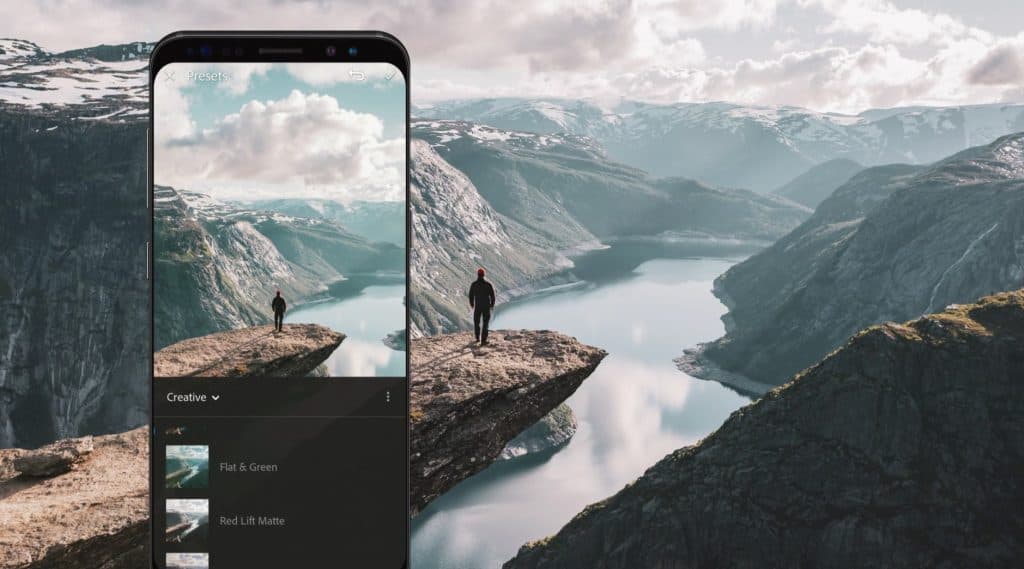
How can I create an orange and teal effect in Lightroom?
Orange and Teal effects have been around for many years in photography and videography. But how can you create a similar outcome with Lightroom for mobile?
- Ensure the photograph is adequately exposed, has the right amount of contrast, and the shadows are not too dark.
- Create an S-curve in the Tone Curve Panel under the light tab.
- Go to ‘Mix’ and adjust the red, orange, and yellow tones. Add a bit more saturation and change the hue to the left (warmer tones).
- Adjust the teal and blue colors as well. Add a bit more saturation and change the hue to the left.
- Change the other colors, like greens and purples as well. They need to be less present in the images by pushing the hue slider to the left and decreasing saturation.
- Pomp up the vibrance and saturation (if necessary) a bit to create nice saturated colors. Please don’t overdo it.
- Export the image.
You can find more on Orange and Teal effects in smartphone photography in this blog post.