How to make time lapse video with a smartphone. A quick guide
Do you want to make a stunning time-lapse video with your phone that will awe your audience? Then, you have come to the right place. This blog will get you through everything you need to know about timelapse photography with your smartphone, what gear to buy, and which apps to use.
Let’s dive in and start with a brief explanation of how to make a timelapse with your cell phone.
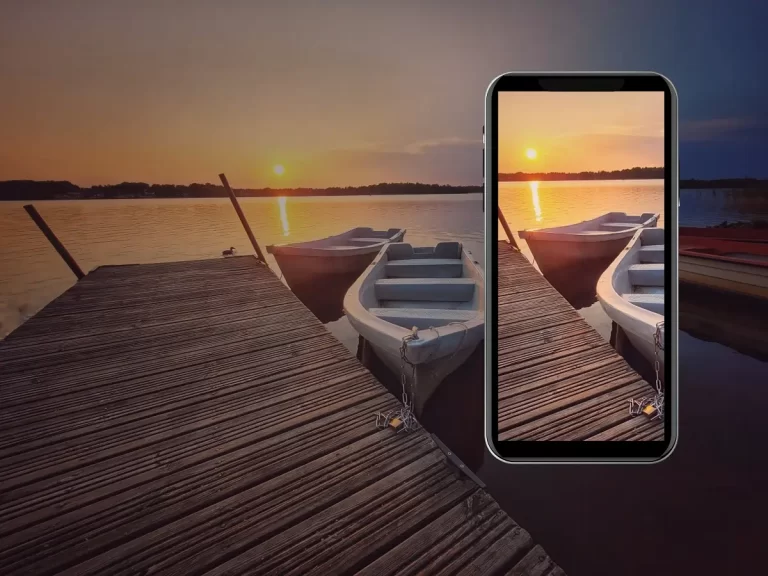
- Choose a subject and decide whether the foreground or background should move.
- Keep your smartphone steady by using a tripod.
- Take multiple images, a video, or use the time-lapse mode on your phone with the native or third-party camera app.
- Pick a decent amount of time concerning the speed of the timelapse or hyperlapse settings.
- Start recording or taking photographs.
➤ This post may contain affiliate links, purchases made through affiliate links may provide a commission for smartphone photography at no extra cost. Of course, all opinions remain our own. Please read the Privacy Policy for more info.
The gear I used for writing this blog can be found on my favorite gear page.
These are the four most common ways to do time-lapse with a smartphone:
- A built-in timelapse or hyperlapse mode;
- Video mode;
- Third-party timelapse application;
- Taking multiple images with a set interval;
Next, let’s see how you can create your own timelapse!
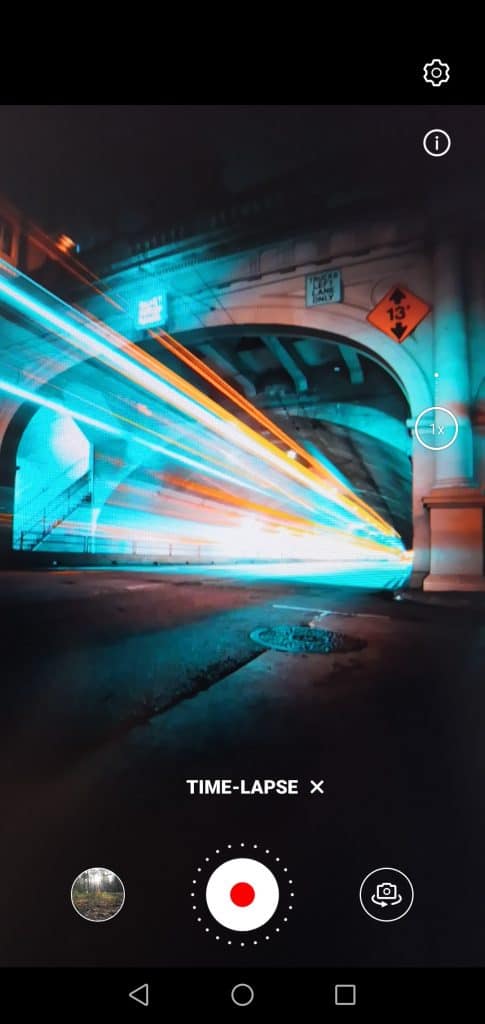
1 Timelapse or hyperlapse mode on your phone
Using the timelapse mode of your camera’s native app is the fastest and easiest way to create a timelapse. For the best possible result, choose to shoot with the wide-angle lens of your phone (if it has one, or you can use an add-on lens).
Ensure you lock the exposure and focus by tapping and holding the screen at the subject you want to focus on. You will see AE/AF Lock on the screen or another announcement stating exposure and focus are locked.
Set the desired exposure by tapping on the subject and sliding up and down or right and left to set exposure. (Depending on the make and model of your phone).
Finally, tap the red button to start recording and again when finishing. You can find your timelapse in your videos and images in the same folder.
You can even edit your timelapse with a video editing tool, like LumaFusion (iOS), iMovie (iOS), KineMaster (Android), or FilmoraGo (iOS & Android).
The downside to taking timelapse videos with the built-in mode is that you don’t have much control. You cannot, for example, change the frame rate or playback speed. Instead, the timelapse or hyperlapse mode of your native camera app determines the number of frames captured each second.
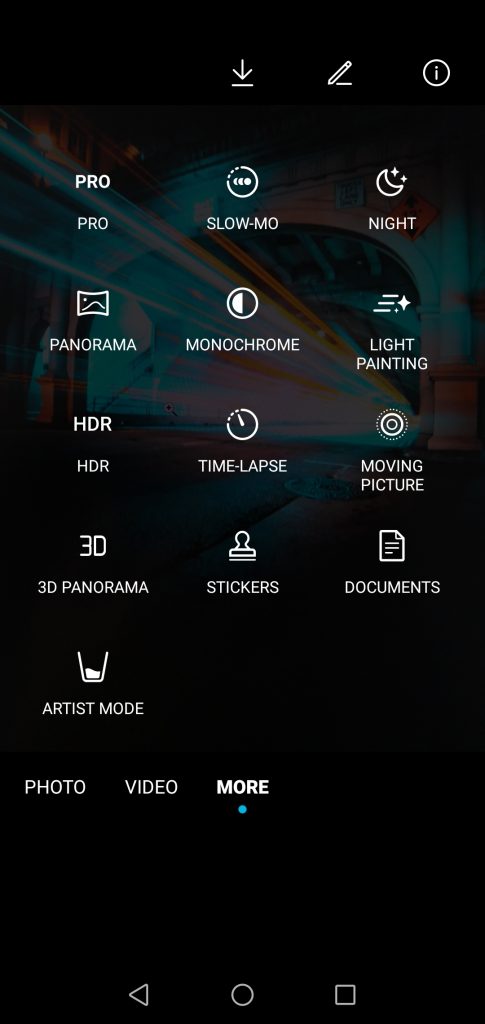
How can I access timelapse mode on my phone?
You can access the timelapse mode on your phone by going to the native camera app look in ‘modes’ or ‘settings’ for timelapse or hyperlapse.

If your phone does not have a timelapse mode (or equivalent), try one of the other three options (video, photo stacking, or third-party app) to create the same results.
What is the difference between timelapse and hyperlapse video?
The difference between timelapse and hyper-lapse is a moving camera. In hyper-lapse videos, you will move the camera to create motion and change perspective during the shot. While in timelapse videos, the camera phone stands still on a tripod, for example.
Here are a few examples:
2 How can I make a timelapse with video mode?
Another way to make a timelapse or hyperlapse is by using the video mode of your smartphone. Take several minutes or hours of high-quality video, preferably 4K or Full HD, and speed the results up to create a timelapse.
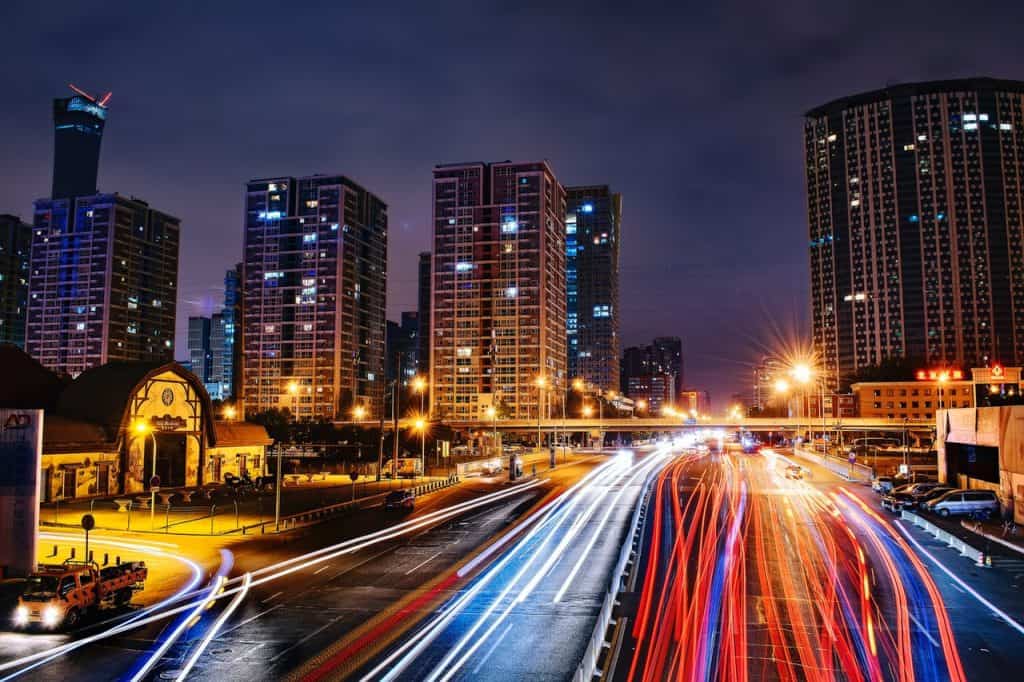
You will need a lot of video frames to create a few seconds of timelapse. Make sure your phone has plenty of free storage available, or buy yourself a 1TB micro SD memory card on Amazon. The amount of time required for a one-minute timelapse depends on the speed you need to create a beautiful shot. For example, moving people or animals ask for a slower rate than turning stars and sunset to sunrise cityscapes.
You can combine high-speed with slower speed sections to create a playful or dramatic effect called ramping. Time ramping is the art of slowing down and speeding up your footage to produce dramatic and creative video results.
3 Which apps can I use for creating timelapse videos?
You can use one of these applications to create timelapse videos with your smartphone:
- Hyperlapse Instagram for iOS
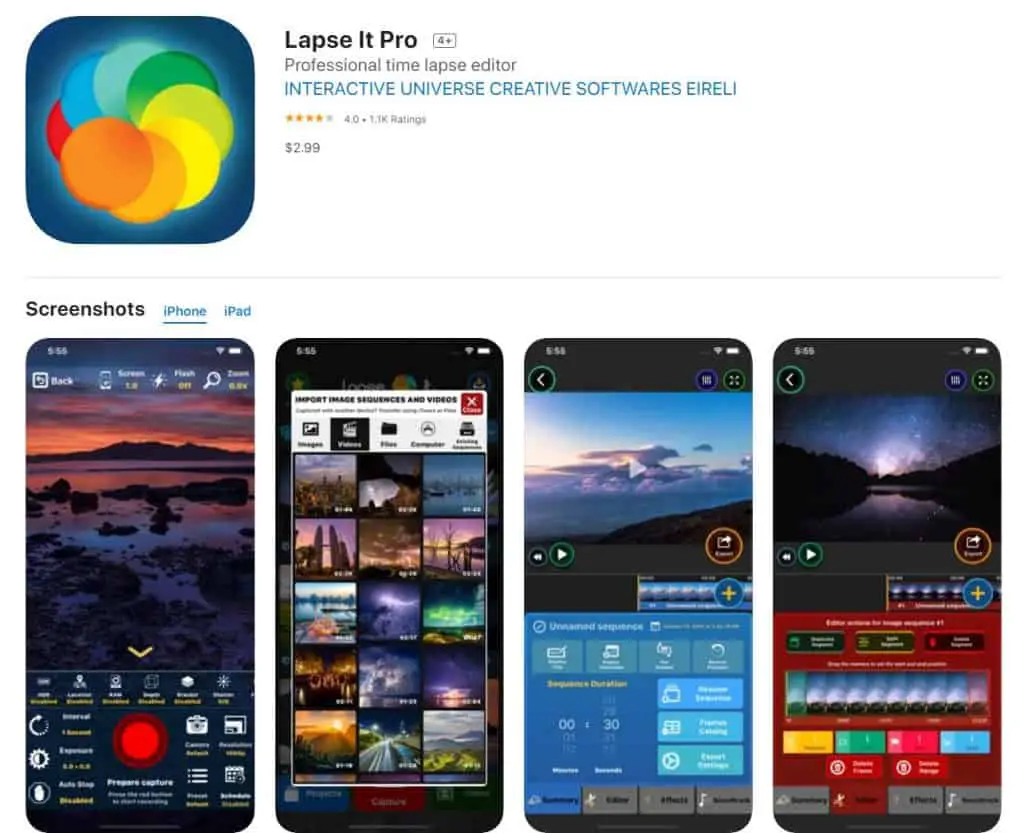
- Lapse it for iOS
- Timelaps Pro for iOS
- Moment Pro Camera app for iOS
- Framelapse for Android
- Time Lapse camera for Android
These five apps are easy to use and work intuitively. You can change settings, like frame interval, video duration, and speed. Some apps even let you lock the white balance and exposure to quickly reduce significant changes and flickering.
Pro tip: Keep your phone on a charger (plugged in or use a battery pack) while shooting very long timelapse videos. Applications can drain the battery!
4 How can I make a timelapse video from images with my phone?
The traditional way of making a timelapse or hyperlapse video is by taking tons of images from the same object and stacking them together as a video with editing software.
The most significant advantage of doing a timelapse video in an old-fashioned way is image quality. You can take RAW images at a high resolution. A downside to this method, especially with hyperlapse, is it takes a lot of time. You will have to take all the steps physically to take every image.
A tripod will help to keep your smartphone camera steady during the shoot. Turn on gridlines to help you take the same image over and over again if you choose to shoot a hyperlapse (moving your phone). If you want to take a handheld hyperlapse, you will benefit from using a gimbal. You can find my favorite Gimbel on Amazon for a very reasonable price.
How many photos do I need for a timelapse?
How many images you should take for making a timelapse depends on different factors like the number of frames per second, speed, and how long in seconds, minutes, or hours the video must become.
If you shoot at 30 frames per second (fps), you will need 30 images for 1 second of footage to create a timelapse with your phone. So for 10 seconds, you will need 300 photos, 60 seconds (one minute) equals 1800 pictures.
What is the best interval for a timelapse?
Once you have chosen the number of frames per second, you will need an interval to shoot the images. Again, it depends on how quick the video must be, how fast objects are moving, and whether or not the foreground and background are moving.
The slower the object, the larger the interval to create an impressive timelapse. Moving clouds need a bigger interval, like 4 to 7 seconds, and driving cars need a smaller interval, like 0,5 seconds.
You can use a timelapse calculator for Android or iOS to help you find the best parameters.
Which software can I use to make a time-lapse video from photos?
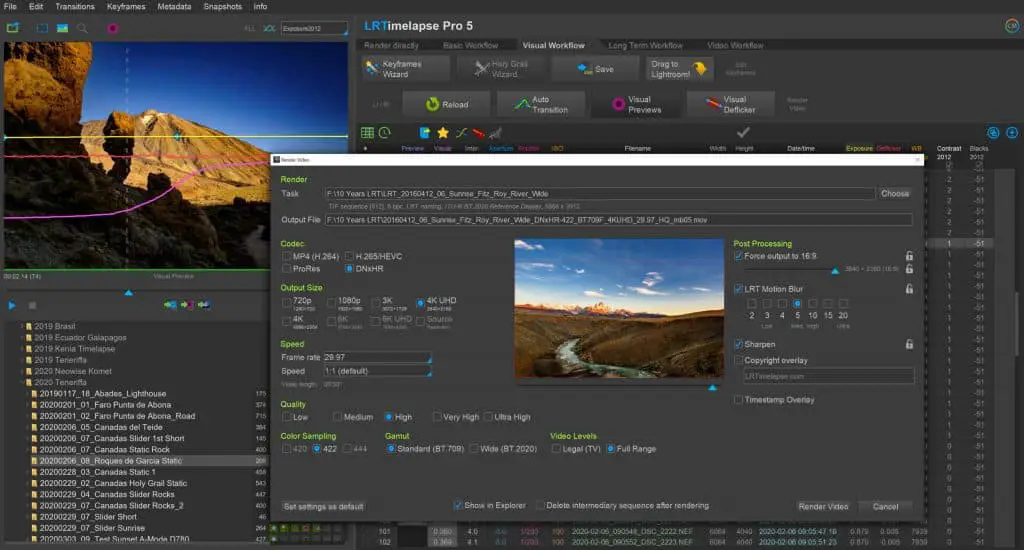
I recommend using Final Cut Pro X (for professional iOS photo- and videographers) and LR Timelapse (for all photographers) for stacking images together to create a timelapse video.
You can edit all photos in Adobe Lightroom before importing them to Final Cut Pro X. Make sure you make one filter to use on all pictures. This way, they will all have the same look and feel.
LR Timelapse offers many options to edit all the images in one sequence, or by flexible keyframes, you can set yourself. You can find basic and advanced tutorials on the website of LR Timelapse. You will need Lightroom for PC to get full advantage of the program.
What gear do I need for timelapse videography with my phone?
- Tripod
- Remote shutter
- ND filter
- Gimbal
- Dolly track or slider system
- Memory card over 128GB
- Battery pack or power bank

Tripod for smartphones
It would be best to have a tripod for timelapse or hyper-lapse photography and videography. Camera shake will be extremely visible in these kinds of videos. I have several blog posts on tripods that might come in handy before picking your favorite.
- Can I put my smartphone on a tripod?
- Why I still love my Joby Gorillapod for smartphone photography
- My favorite lightweight and professional tripods for smartphone photographers

Remote shutter for mobile phones
Another way to prevent camera shake is by using a wireless remote shutter. They usually work up to 30 feet. It will improve your photography not only with timelapse videos but with all sorts of photography-related situations. You can find my recommendations here.

Do I need an ND filter for shooting time-lapse videos?
It is advisable to use an ND filter on your smartphone to make time-lapse or hyperlapse videos in most situations. A variable ND filter works great in bright environments to allow you to pick a slow shutter speed to soften or blur fast-moving objects. In addition, it will make the result look more fluid and organic.
If you prefer premium quality filters, you can pick up some excellent variable ND filters from the Moment shop. You can use a smartphone mount to use them on your phone as well as your DSLR.
My favorite budget-friendly variation is the Neewer adjustable Neutral Density filter. You can pick one up from around $30 on Amazon.

Do I need a gimbal for hyperlapse photography?
If you want an easy hyperlapse shooting process and a smooth result straight from your DSLR or smartphone camera, you will need a gimbal.
The DJI OM 4 gimbal makes shooting hyper-lapse videos as easy as pointing to a camera, selecting your subject, and moving along your predetermined path.
You only need to speed up the video file and add some motion blur or color- and exposure correction (if you prefer) in post-production. It will make the process of shooting and editing accessible for beginner hyper-lapse photographers.
How do I manually focus my Android camera?
Sometimes, you need your camera phone to be a DSLR and manually focus before taking a picture. Does your Android camera have the ability to do so? Let’s find out. …
How to Take Images Through a Telescope with Your Smartphone
The universe’s wonders have always fascinated me; telescopes provide a window into the celestial realm. With the advancement of technology, it is now possible to capture stunning images of the…
How can I edit astrophotos made with a phone?
Editing astrophotos captured with a phone can help enhance the details, colors, and overall quality of your images. While the exact editing process can vary based on personal preferences and…
Unleashing Stellar Magic: Phone Astrophotography Guide
Welcome to the fascinating world of astrophotography, where you can capture the wonders of the cosmos using just your smartphone. Armed with curiosity and a willingness to explore, you’re about…

How to Stay Safe While Taking Photos in Nature
Nature photography is a thrilling and rewarding pursuit. Whether you’re an amateur shutterbug or a professional photographer, capturing the beauty of the great outdoors can be an awe-inspiring experience. However,…
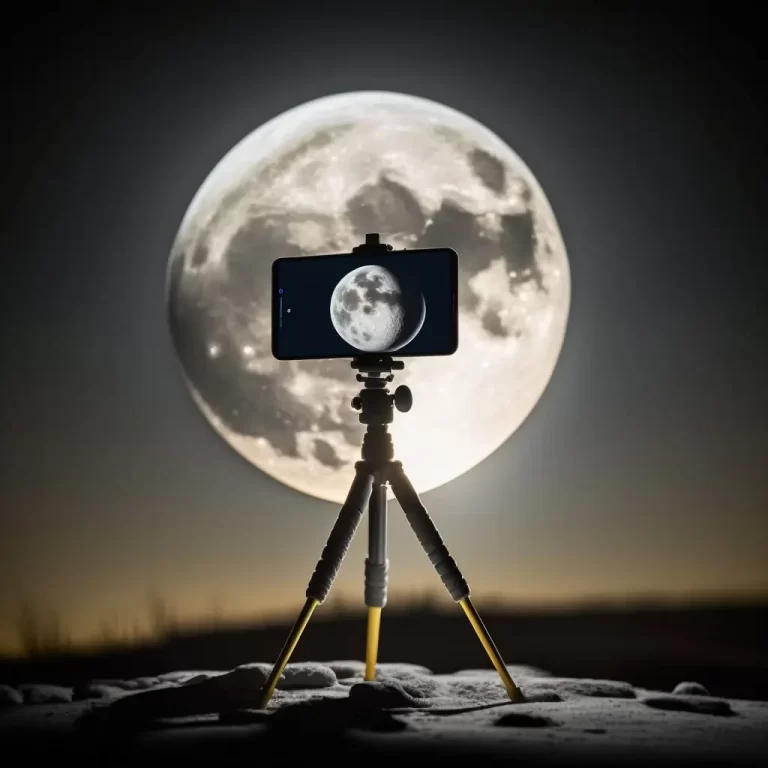
How can I capture the moon with my phone?
The moon is one of the most beautiful and captivating objects in the night sky, and with modern technology, it is now possible to capture its beauty with your smartphone….