Shoot like a Pro with these Smartphone Photography Tips – Part 1
Nowadays, you don’t need a DSLR camera to take stunning images. On the contrary, with a smartphone, you can make beautiful shots much easier and quicker. The best camera is the one you have on you. You only have to get it out of your pocket to create impressive photographs in seconds. But how can you take your photography game up a notch and shine as a smartphone photographer?
Especially for newbie smartphone photographers, we have created this Smartphone Photography Guide. You will learn how to use your camera phone to create impressive images from shooting to editing and which accessories you need to go pro. You can find part 2 of this series here.
➤ This post may contain affiliate links, purchases made through affiliate links may provide a commission for smartphone photography at no extra cost. Of course, all opinions remain our own. Please read the Privacy Policy for more info.
The gear I used for writing this blog can be found on my favorite gear page.
Can Smartphones replace DSLR?
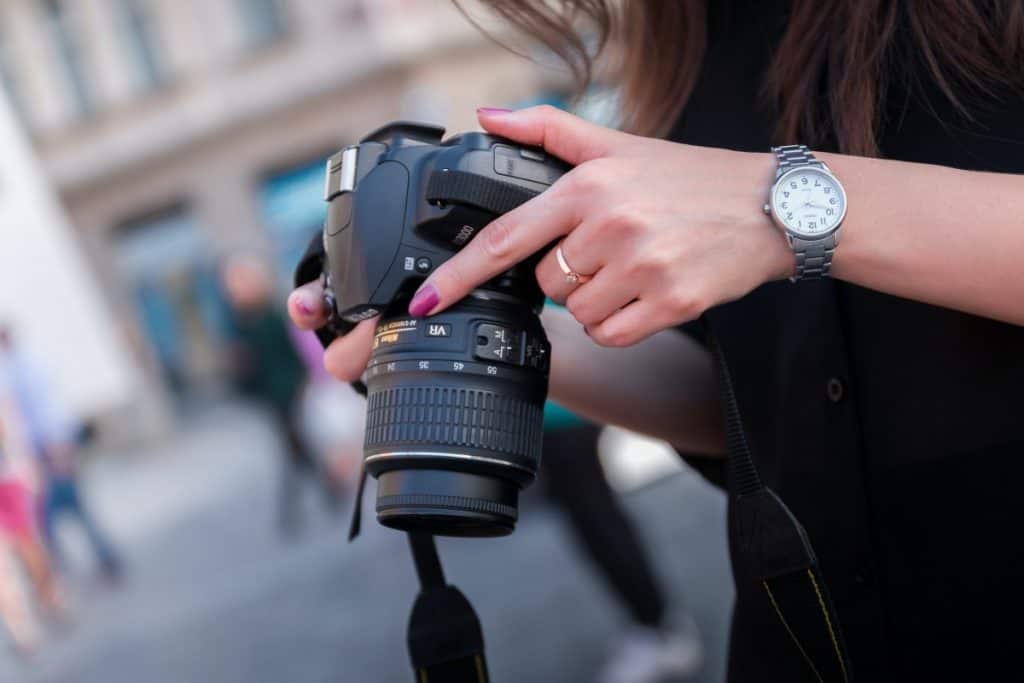
Technology has taken off in recent years. Smartphone cameras are better than ever before, and the developments keep coming. But are smartphone cameras as good as DSLR? Will we see more professional photographs using their mobile phone to take stunning pictures?
Smartphone cameras are getting closer to replacing DSLR photography. Pixel amount, noise in low light settings, and shallow depth of field have improved significantly over the last few years. Combined with low weight and editing and sharing on the go, it might just be the future of professional photography.
While we think smartphone photography will take over the major part of the amateur and hobbyist market, professional photographers will probably stay true to their DSLR/Mirrorless camera in the upcoming years. DSLR manufacturers seem to focus more on the professional market. Nonetheless, smartphones are still pretty new compared to cameras, and developments are nowhere near the end of possibilities. Only time can tell what will happen within 5 to 10 years. We are excited to see what big players as Apple and Samsung will come up with.
If you are a novice photographer, a smartphone camera is a perfect choice to start creating and sharing your view of the world. There are good quality camera phones on the market that won’t break the bank. Take a look at our top choices.
Now you have decided to become a smartphone photographer, let’s dive into the basics.

Smartphone composition rules
There are a lot of rules of thumb that help us take better photos. Those guidelines are not written in stone, and you can even become a better photographer when you deviate from them once in a while. Dare to take risks and break some rules occasionally.
To know what rules you can break in smartphone photography, we will explain which ones will be helpful for novice photographers.

1. Rule of thirds
The rule of third is a universal composition rule in photography. As early as 1797, the artist John Thomas Smith explained in his book ‘Remarks of Rural Scenery’ that you have to divide the image into nine equal planes utilizing two horizontal and two vertical lines. Based on those guides, place your focus at a crossroads of these four lines.
Of all the basic rules in smartphone photography, the rule of third is the easiest to break. Sometimes you can give a photo more expression by putting the subject in the middle. Note that the item is centered perfectly for the most powerful effect.
Your smartphone has a built-in grid that will help you to use the rule of thirds properly. Please turn it on by going to your native smartphone camera app, go to settings and turn on the assistive grid. You will now see four gridlines on your screen.
Several studies have shown that people’s eyes are usually drawn to one of the intersection points more naturally than the center of the shot. The rule of thirds works with this natural way of viewing.
The most important question you will have to ask yourself while applying (or breaking) the rule of thirds are:
- What is of are the point(s) of interest in this shot?
- Where am I intentionally placing them?
Keep the rule of thirds in mind as you edit your images. In post-production, you can crop or reframe your photographs so that they fit within this rule.
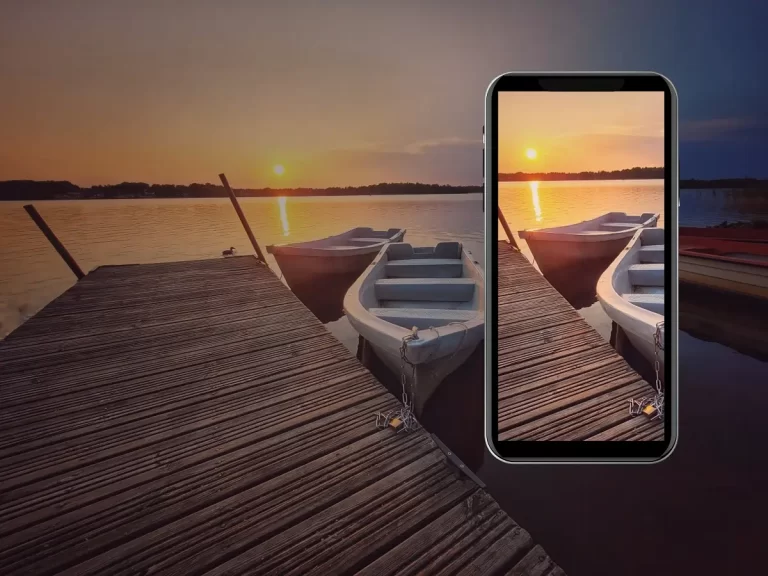
2. Leading lines
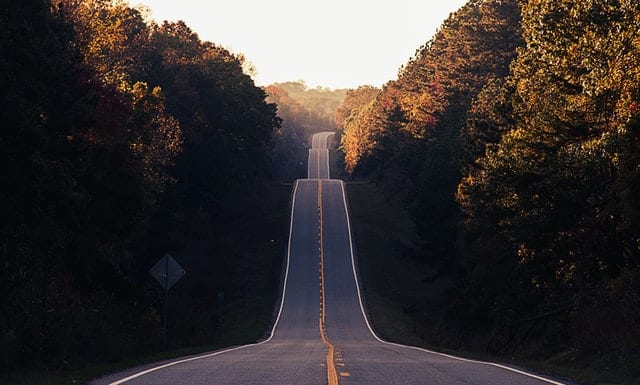
Leading lines direct the viewer’s attention to a specific part of your photograph. Because our brains like to follow lines, you can use them to move the viewer to a fascinating subject in the photo. When those lines also converge, they strengthen the feeling of depth. You can also use lines to create a sense of rhythm.
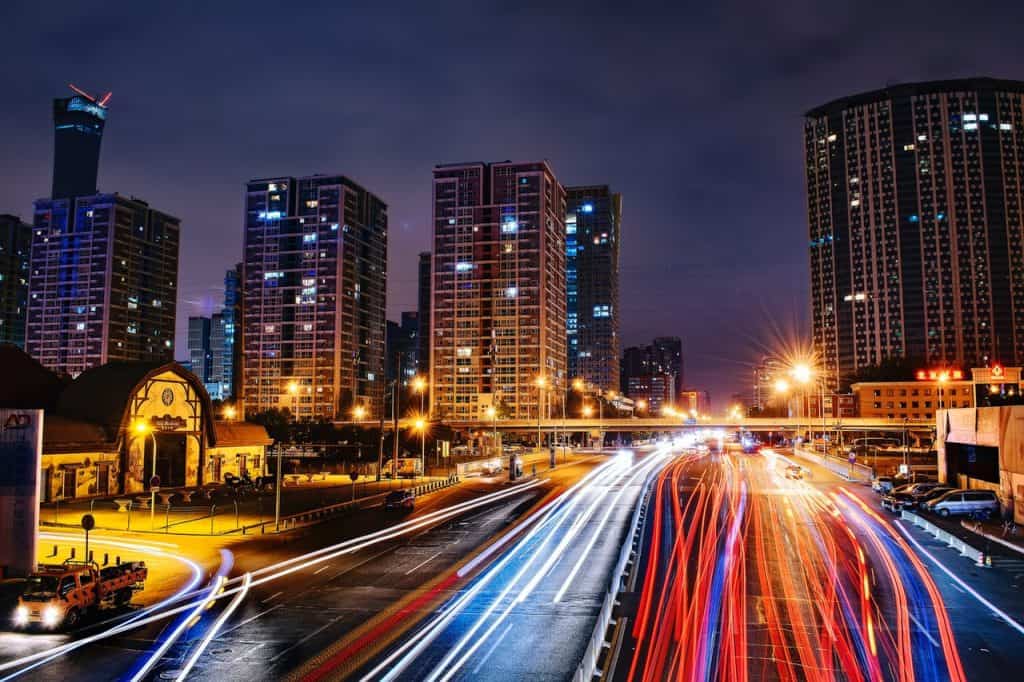
The easiest way to find leading lines is on the road. They inherently lead to somewhere. It will give people a sense of motion. The place where two or more lines converge it will create a theoretical infinity.
When you set up a shot, take a moment to look at the scene for distinctive lines. Relax your eyes, don’t focus on something particular, and notice where they are naturally drawn to. For example, pay attention to:
- Roads
- Bridges
- Buildings
- Doorways
- Boardwalks
- Rivers
- Trees
- Rocks
- Shores
- Waves
- Clouds
Once you have identified the strongest lines in the chosen screen, consider how you can enhance the composition. You can:
- Create depth and perspective by using a leading line from the foreground to the background. Think about a flowing river or road.
- Place your subject at the point where multiple lines converge, so the viewer’s attention goes directly to the subject. Think about lines in a building, bridges, or pathways.
- Create a visual journey from one part of the image to another. Think about clouds pointing at the sunset, or branches at a waterfall.
- Use cyclical motion with leading lines to guide the eye in a (partly) circular motion to the subject of your image. Think about a bent in a road, a bending stairway, or a curvy river.

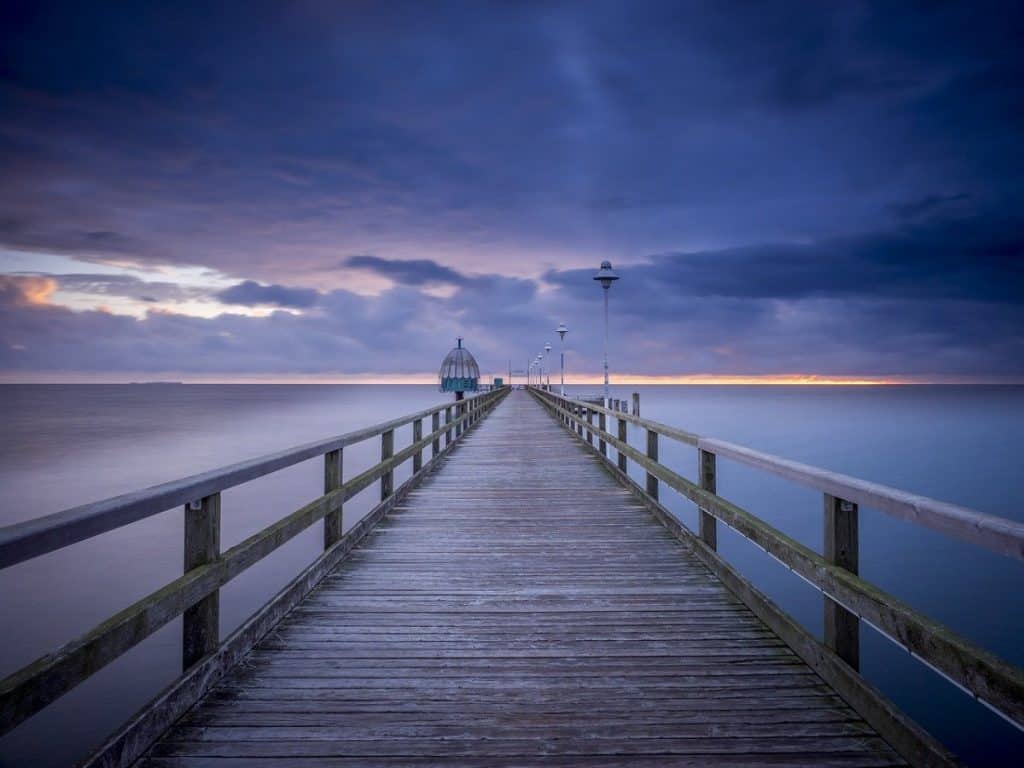
3. Symmetry
Sometimes you want to place the main subject in the center of your photograph. Especially with symmetrical scenes, it will work perfectly. It is easier to spot vertical symmetry, but we like you to look at horizontal possibilities as well. Reflections are a great example of horizontal reflections. You can even use the rule of thirds with horizontal reflections. Some photographers also use circular shapes to create radial symmetry. This type of balance usually involves forms that keep going round like water ripples, wheels, succulents, and domes.
Symmetrical images are pleasing to the eye. The photographs are easy to look at. So why not use this composition rule while you become a smartphone photographer.
Try to find symmetry in your own home. Search for window frames, doors, books, or wooden shutters. Look for horizontal or vertical lines. You can combine vertical or horizontal symmetry with people. Think about straight stairways or reflections in pools.
Symmetry combine with leading lines will create sharp images that are especially pleasing to look at. Once you have mastered different composition rules, you can try combining them into one photo.
4. Create depth
To know how you can create depth in your photographs, you need first to understand depth of field. Depth of field is nothing more than how much of your scene is in focus. Technically it means the distance between the closest objects in focus and the farthest point of focus.
In photography, people talk about depth of field in terms of deep and shallow. Deep DoF is also called wide or large. Shallow DoF is called small or narrow.
When you want to photograph a landscape scene, you often like the entire scene to be in focus. It is called a deep DoF, unlike portrait and macro photographers who wish the background to be blurry and out of focus. You will want to use a shallow depth of field. The foreground, your subject, will be in focus, but the background is not.
Shallow depth of field is an excellent way to distinct your subject from the background. Another way to create depth in your image is by using leading lines and frame within a frame.

5. Choose a background
The background of your images should always complement the picture. They should add something to the desired atmosphere you are trying to create. In portrait and macro photography, you can use a shallow depth of field to create a soft tone pleasing to the viewers’ eyes called bokeh.
Try using a lot of negative space in your images. The subject will stand out even more. You can find negative by using single-colored backgrounds like water, sky, or a concrete wall.
Or go for an even-colored background to create a sense of peace. The object will pop out from a single-colored background.
Some subjects benefit from a crowded background because it adds to the story of your photograph. Think about a busy summer market, a full cafe, or a busy train in India. Even flowery fields can make for great portrait backgrounds with different colors. It all depends on your intentions. What do you want the viewer to see, what is the story?

6. Switch perspectives
Newbie photographers tend to take images at eye level. But the world can be much more interesting from your knees or on a ladder. Give these so-called frog perspectives and birdseye view a change. You will see that you will get a whole new perspective of shooting images with your smartphone.
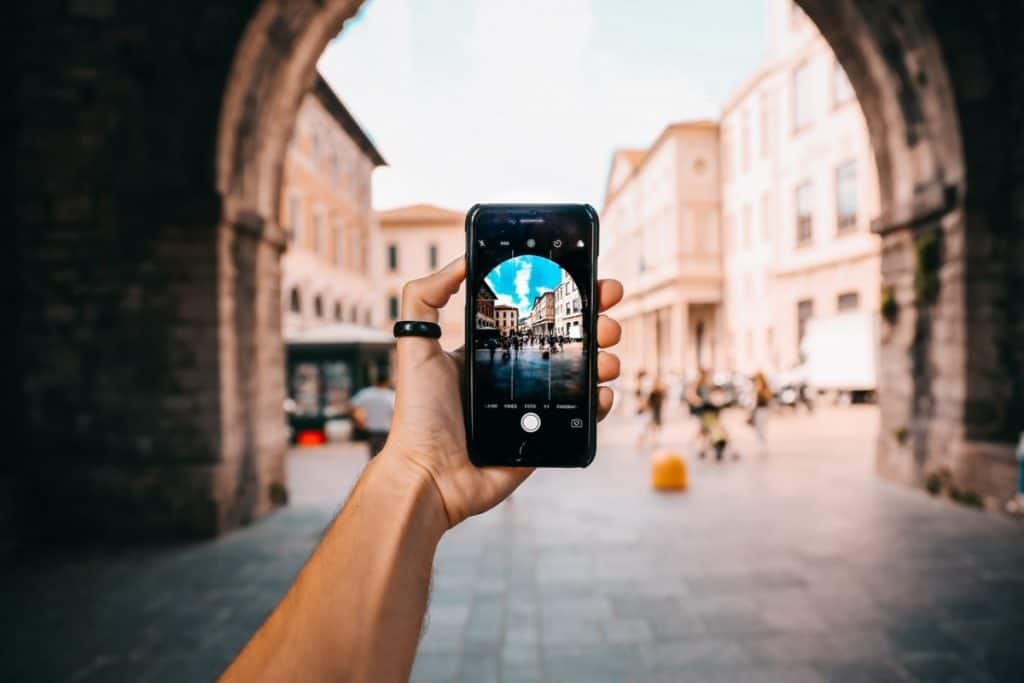
7. Use frame within a frame
Using a frame within a frame is another excellent way to attract the viewers’ eye to the subject. Although the technique is somewhat underused, we recommend taking some time to learn how to do it. It can uplift your pictures.
You can find frames in foregrounds as well as backgrounds. With foreground framing, you can think about a doorway that acts as a frame for a beautiful garden, or a window for a biker that is passing by.
Foreground framing is an easy and somewhat obvious method of using a frame within a frame. However, we would like you to try a subtler way of making this happen with background framing.
Before you take an image, try to imagine what the outcome should be. Walk around, look at the subject, and look for framing options in the background. Look for backgrounds that will draw the viewers’ eye to the item in the foreground. For example, this can be a building, staircase, graffiti, shadows, or doors.
Always ask yourself, will framing add or take away from the image? If it does not add anything, do not use it. It is as simple as that.
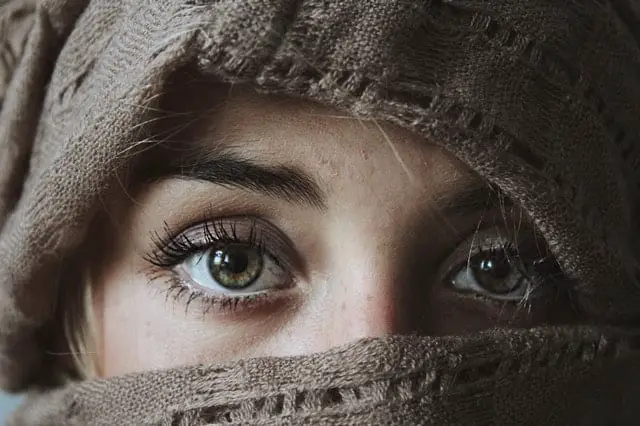
8. Fill the frame without zooming
Some subjects benefit from getting up close and personal. It mainly works well with portraits, macro photography, and busy backgrounds. You can create a more intimate and focused look while shooting in a busy location like a bar or busy train station. To fill the frame means making your subject a large portion of your photograph. It means you need to get close to your item.
The easiest way to direct attention to your subject is by making this object the largest in the scene. Use your feet to get closer instead of the digital zoom. Using zoom in smartphone photography is not the way to go. The zoom function of your smartphone camera does not function as the zoom function of a DSLR camera. It merely crops your image, so the subject appears to be closer. Cropping does not enhance the outcome of your pictures. You will have to get physically closer to the subject to get good quality images.
Try getting as close as possible to a subject to see what your smartphone camera is capable of shooting when you are very close to an object. You can add a macro lens to get even closer. We will talk about that later.

Exposure triangle
When taking a photo with your smartphone, three controls together provide exposure for your photo. We call it the exposure triangle. We will explain how this works so that you can create well-exposed images. If you find the exposure triangle confusing, don’t worry; our handy cheat sheet/infographic will make it easier to remember what settings to choose.
Pay attention! Not all smartphone cameras have a pro-mode that allows you to adjust settings within the exposure triangle. You can, however, download a third-party app that does the job.
The three values responsible for the exposure of your images are the aperture, ISO, and shutter speed. Together they are called the exposure triangle. You can set every setting separately or let your smartphone camera app make these choices for you. It is essential to know what these three settings are responsible for so you can take control.
What are aperture, ISO, and shutter speed responsible for?
Aperture
The aperture is located in the lens of your smartphone camera. It is an adjustable opening that gradually controls the amount of light that the camera sees. When setting the aperture, you choose an F-value. The larger the aperture opening, the more light the camera sees. A large opening has a low F value, and a small opening has a high F value.
In addition to light, the aperture also controls the depth of field. When you take a picture, it is proven impossible to get everything sharp from your feet to the horizon. Only what is within a specific range will be crystal clear in the photo, that is the so-called depth of field, we talked about earlier.
Can I control the aperture in my smartphone camera?
It is one of the main reasons why professional photographers still choose a DSLR camera over a smartphone camera, aperture control.
Very few smartphones allow aperture control. The vast majority of mobile cameras do not have an adjustable aperture. Most camera phones that do allow ‘aperture control’ simulate changing the aperture by using software to process the images from two lenses.
There are a few high-end Android smartphones from Samsung that allow aperture control, you can read more about these cellphones in this article.
- Samsung Galaxy S20
- Samsung Note 10
- Samsung Galaxy S9 and S9 Plus
- Samsung Galaxy S10 and S10 Plus
Shutter speed
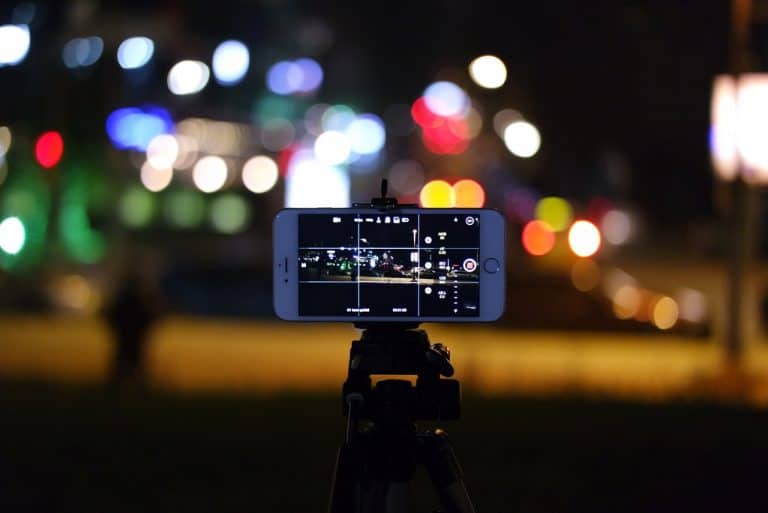
The second side of the exposure triangle is shutter speed. It refers to the time the shutter is open to let light pass to the sensor. The longer the shutter speed, the more light hits my smartphone camera’s sensor. You will need a tripod when shooting longer shutter speeds.
Aperture and shutter speed work together to determine how much light goes to the sensor. You can set the shutter speed to balance the light. In low-light conditions, you will need a longer shutter speed for the little amount of light to pass through to the lens.
Most native smartphone camera apps can work between 1/4000 of a second and 30 seconds. You can extend the time by using bulb mode applications. Don’t forget to use a tripod while using a longer shutter speed.
You can also use shutter speed to freeze or capture motion. The longer the shutter speed, the more motion you will find in your images. Read more about capturing motion in our Ultimate Guide To Action And Motion Photography With A Phone.
ISO values
The higher the aperture value and/or the faster the shutter speed, the less light your smartphone camera sees. That is no problem on sunny days because then there is still enough light on the sensor. But indoors or in the twilight, you encounter technical limitations. Now the ISO value comes into play. ISO is the light sensitivity of the camera. By increasing the number, you can still use a reasonably fast shutter speed or a relatively small aperture.
Unfortunately, a high ISO value has an annoying side effect: noise. A high value produces small black or colored speckles that should not be there. The higher the ISO, the more speckles and spots appear in the photo. Be careful when choosing a high ISO value, but don’t be afraid to use it either.
Other Smartphone Photography Settings
Now you have learned how to use the exposure triangle to create well-lit images without over-exposing them; it is time to take a look at the other settings.

White balance and gray card
Smartphones with a pro or manual mode often have a white balance option. With an automatic white balance measurement, the device can create the right color temperature, but it can be off sometimes. It is worthwhile to set the color temperature yourself. You can visually determine the correct white balance, but also with a gray card or white sheet. It only works if you can manually set the white balance.
But what is white balance? The purpose of white balance is to adjust the color temperature, so your photos have the same neutral colors and tones seen by the naked eye. It makes sure unwanted color casts are removed from the scene when you take the picture.
Different light sources, like the sun on a sunny day, a light bulb at night, or a cloudy sky, have different color temperatures. These are measured in Kelvin. A typical daylight day is something like 5000K.
When you shoot RAW images instead of the usual JPEG, you can adjust the color temperature in post-processing.
Generally, white balance is divided into several values:
- 3000-7000K > AWB Auto mode
- 3200 K > Tungsten light or incandescent
- 4000 K > White fluorescent light
- 5200 K > Daylight
- 6000 K > Cloudy, twilight, sunset
RAW images
Working in raw format is a must if you want to post-process your photos in Lightroom or Photoshop. But it is also recommended for editing with any other smartphone apps that work with RAW images.
RAW files are uncompressed, undeveloped, and unprocessed images with lots of information about color, contrast, brightness, and sharpness. Your smartphone RAW files contain pieces of information you can later use to adjust the photograph to your liking.
Unlike JPEG files, which are the standard in-camera apps, RAW images are huge and bulky. You will need enough storage space when you go out on a photo shoot.
We have put together a manual on why and how to use RAW images on your smartphone camera.

Manual mode
When you want to use your settings like shutter speed, ISO, white balance, manual focus, and RAW files, you will need a smartphone camera with a manual or pro mode.
Go to the stock camera on your phone and find the model called pro mode, professional mode, manual mode, or something similar. You can find it between other settings like slow mode, time-lapse, and panorama. Or take a look at the bottom of your screen. Scroll up, and pro mode might instantly get selected.
If your smartphone camera app does not come with a manual mode, you can download a third-party app from the app store. You can give VSCO, Open Camera, or Camera FV-5 Lite a try.

High Dynamic Range or HDR
Sometimes a smartphone camera cannot display everything in a photo with the same level of light and detail. It has to choose between sky and building, or person and background.
With HDR, you can solve this challenge. In a split second, the camera takes several photos which are merged as one. It results in an image with detail in both the dark and light parts. You can turn the HDR function on or off, and in some cases on automatic.
You can enable HDR by launching your phone’s native camera app and locating the setting HDR. The exact steps vary in every make and model. It might also be called differently like Dynamic Tone, Rich Tone, or Drama. There are also third-party apps you can try, like Pro HDR camera.
Continue improving your Smartphone Photography
That was quite a big chunk of information, wasn’t it? No worries, you can access these tips at any time. Just go back, reread the parts you find difficult, and start taking your pictures.
Exciting, isn’t it? You probably want to learn more about smartphone photography now that you are getting the hang of it. We have tons of articles about how you can get professional results by just using your smartphone.
In the upcoming sequel of this blog, we will describe how you can use different photography modes like macro, portrait, and panorama. We will also help you on your way with various photography themes and talk about breaking the rules. To get you started as a new and exciting smartphone photographer, we will help you find the right gear and editing apps.
Final thoughts
When I started taking smartphone photography seriously about four years ago, I had no idea how big of a part it would become. It began as a curiosity about the possibilities. And look at me now. I have a fantastic blog about smartphone photography, where I can share my knowledge with other new smartphone photographers. Cool right!
One final thought for today. Don’t be afraid to make mistakes. Learn by taking many pictures. Try different things, create your style. Look at a scene and give different angles and settings a try. You will be amazed by what you can create.