How do you take good pictures of yourself with your phone?
So you want to take a professional-looking picture of yourself? Maybe you need to send a resumé to get your dream job, or you like to impress a possible date; this blog will make sure you take sharp, well-exposed images with your cellphone.
You can take good pictures of yourself with your phone by using a tripod, remote shutter, and by using the back-facing camera with the highest resolution. First, use the native camera app, set it to manual mode, choose RAW photo format, and not use the zoom function. Next, make sure the lighting is perfect and edit the image.
That does not sound complicated at all, does it? If some of these terms look daunting to you, do not worry, I will go through every step and clearly explain what settings you need and which affordable equipment you should use. Let’s jump in!
➤ This post may contain affiliate links, purchases made through affiliate links may provide a commission for smartphone photography at no extra cost. Of course, all opinions remain our own. Please read the Privacy Policy for more info.
The gear I used to write this article is available for a decent price from Amazon:
12 steps to take stunning pictures of yourself with a cellphone
Here are the 12 most important steps you can take to create a beautiful picture of yourself with nothing more than a cellphone, tripod, and remote shutter. Luckily you won’t have to break the bank to get some of the gear I like to use for self-portraits!
1 Clean the lenses of your smartphone
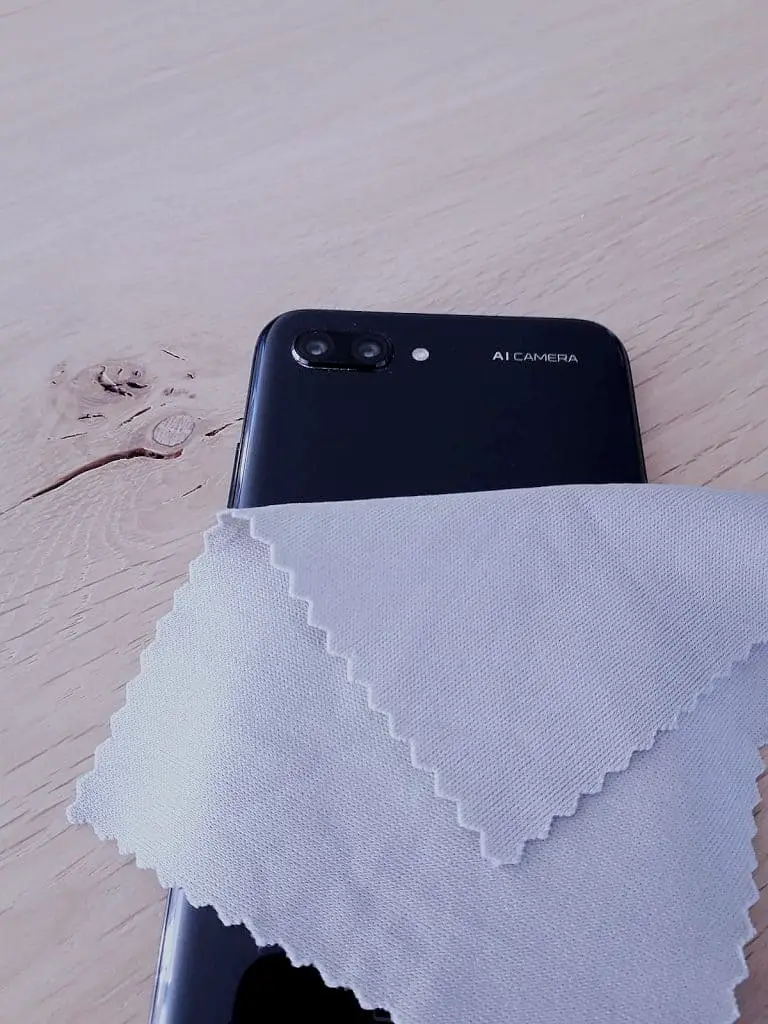
Cleaning the lens of your cellphone camera might be the single most important tip for taking beautiful images. When greasy fingers touch the lens, your photos will automatically become less or even blurry. But, of course, you can expect the same outcome with dust, dirt, and all sorts of liquids.
The best way to clean your smartphone’s lens(es) is by using a microfiber cloth. I have been using these cloths from Amazon for the past five years, and they work like magic. You can even put them in the washing machine to eliminate grease, dust, and sand. In addition, these tiny cloths easily fit in your wallet or smartphone cases, so you can use them whenever you need to.
Do not use toilet paper or tissues to clean the lens. They might seem soft, but they can scratch the lens and shed, which causes extra dust instead of less. Stay away from chemicals as well! Soap, ammonia, or alcohol can reduce your lens’s quality.
2 Use a tripod
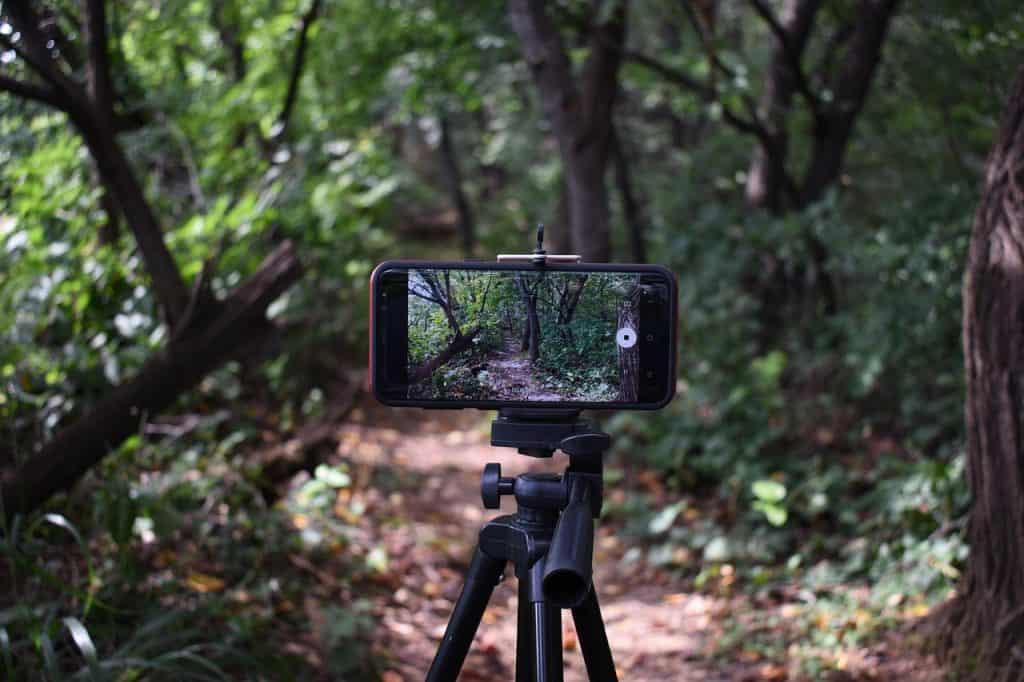
Using a tripod for taking a picture of yourself might seem strange, but it is not. Here is why. Although selfie lenses, or front-facing lenses, have improved significantly over the last few years, the best camera lens is still on the back of your phone. Use it!
You can use your smartphone on any tripod with a universal screw sized 3/8-16 or 1/4-20. I have been using a very cheap cellphone tripod adapter from Amazon for the last few years, and it does the trick. You can use it horizontally and vertically. There are many adapters to choose from. Find one that fits the size of your cellphone. I was surprised by how well these smartphone mounts are priced on Amazon these days.
For portrait photography, I like to use a tripod with adjustable, long legs. As a result, it is easier to position the smartphone camera slightly higher than your face for a flattering effect.
3 Use a remote shutter
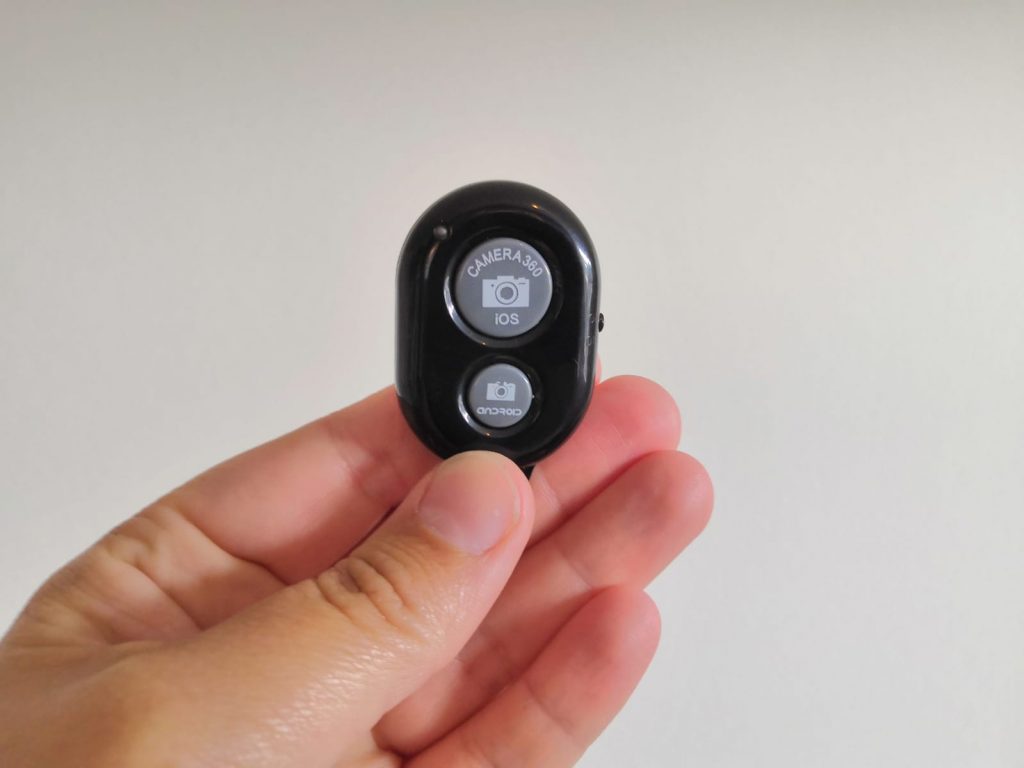
With a remote shutter, you can take a picture from a distance without touching your smartphone camera. It has several advantages like preventing camera shake and creative freedom in choosing a composition. In addition, this tiny, lightweight accessory will help you take tack sharp images.
I have been using this lightweight option from Amazon for as long as I can remember. You only need to change the battery every once in a while. The remote shutters cost a few bucks and can last you a very long time. Paring the wireless shutter works smoothly with Android and iPhones.
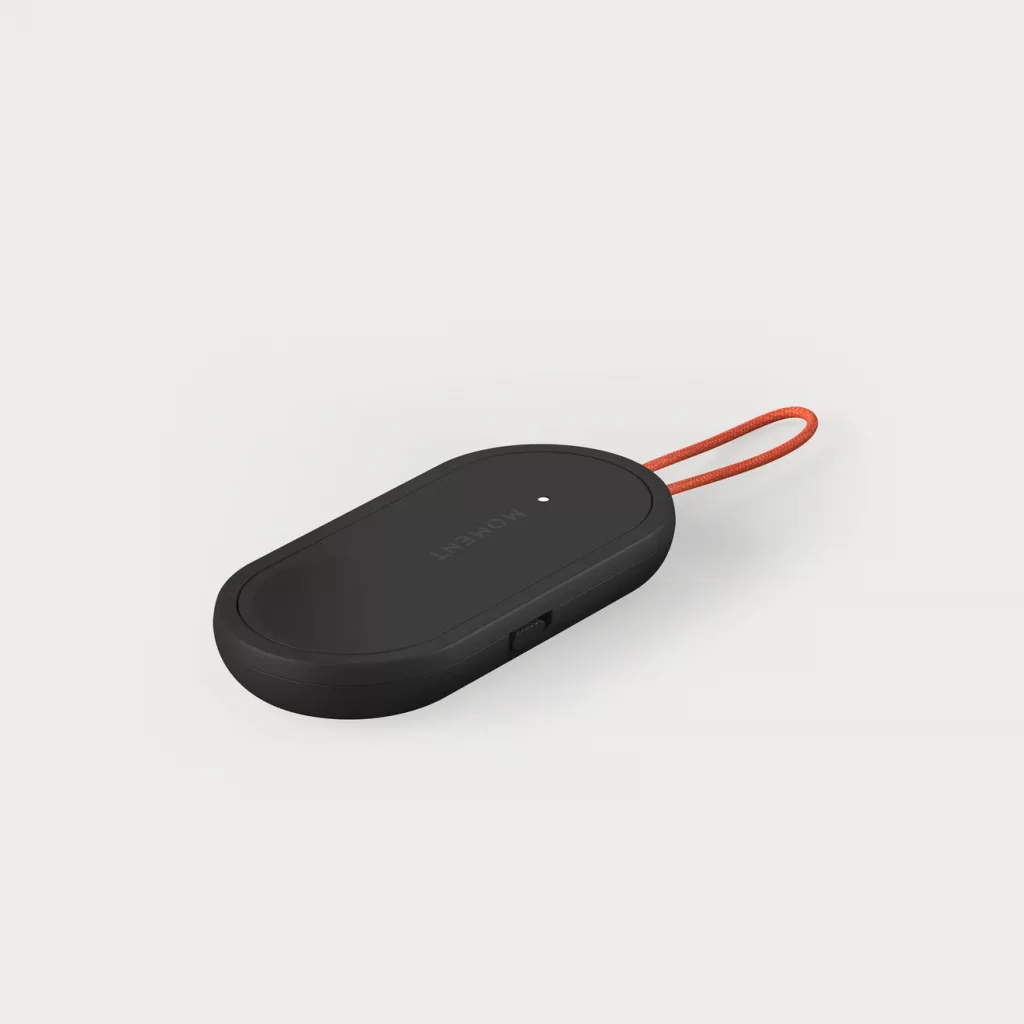
Recently I purchased a premium remote shutter from the Moment store. It has a range of 10 meters, has a dedicated on and off switch, and a 2-year warranty. I think it might become my new favorite wireless shutter yet. It has a premium feel to it and it works like a charm with both Android and iOS.
4 Set the camera to manual mode
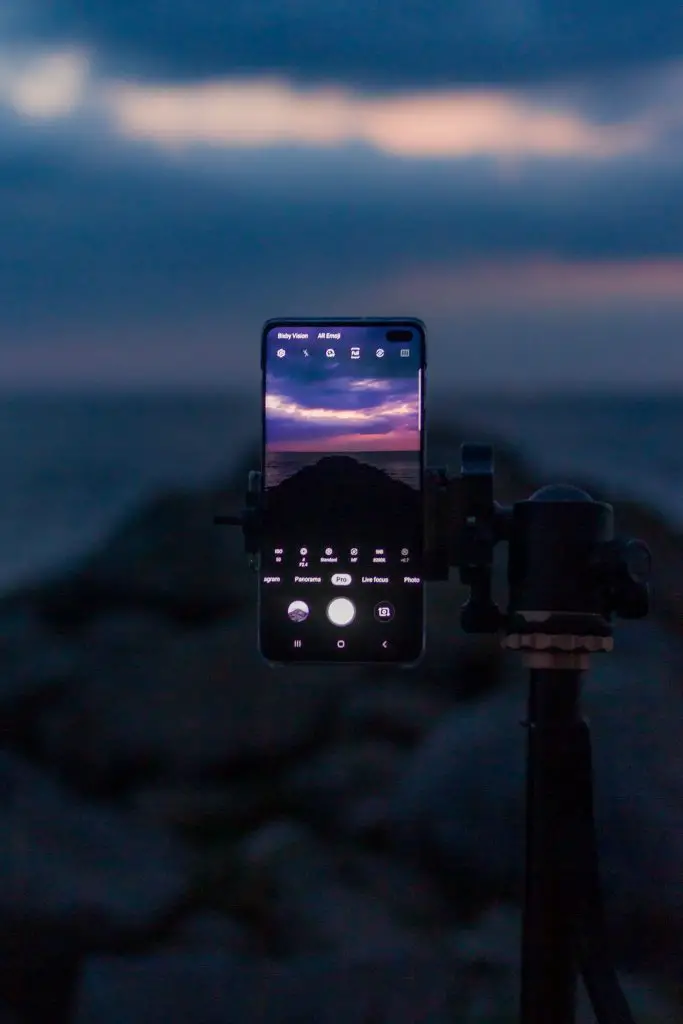
Using the manual mode in your smartphone camera will enable the option to shoot RAW images. I will talk more about that in the next paragraph. It also allows you to use manual focus and choose shutter speed, white balance, and iso value.
Please read this article if you like to read about shutter speed, white balance, and ISO values. It will help you understand how they work together to get perfectly exposed photographs. In short:
Shutter speed
Shutter speed is part of the exposure triangle (shutter speed, aperture, and iso) and is the amount of time the shutter is left open to let light pass to the camera’s sensor. The longer the shutter speed, the more light, and the more the cellphone camera is susceptible to light. In low-light conditions, you will need a longer shutter speed, and in a sunny or bright environment, a shorter shutter speed.
ISO value
With the ISO value, you can set the smartphone camera’s sensitivity to light. By increasing the number, you will be able to use a reasonably faster shutter speed and small aperture. It comes in handy, especially in low-light situations. But beware! ISO has one annoying side effect; noise. You will find small black or colored speckles on your images.
White balance
Cellphone cameras with a professional or manual mode also come with a white balance option. The automatic setting can create the right color temperature, but it can be off sometimes. If this is the case, you can set the color temperature yourself.

5 Shoot in RAW
If possible, choose to shoot your images in RAW format. These photographs are unprocessed and contain the most amount of information on light, color, depth, contrast, and much more. In post-processing, you can create far more professional-looking images than shooting in JPG.
JPG images tend to have a more saturated (and thus appealing look) to the human eye. But you can achieve a better look from RAW photos. You can set your smartphone camera to RAW in manual mode, also called Pro Mode or Professional Mode.
If your native camera app does not support RAW images, try using a third-party camera app. You can read all about RAW photography with your phone in this article.
6 Choose the highest resolution possible
You will want to choose the highest resolution possible, usually in a 4:3 ratio setting, which you will find in the primary camera lens of your cellphone. Selfie cameras do the job, but if you are willing to go the extra mile, you should use the best lens of your setup, the primary or main camera lens.
The highest possible resolution could be something like [4:3] 24 MP or [4:3] 16MP or more if you have a flagship cellphone from Samsung, Apple, or Xiamoi.

7 Use a ring light or other external light source
One of the most crucial parts of creating beautiful portraits is lighting. Although I always prefer natural lighting. Some images, locations, or situations ask for an additional light source. Do not use the flash or your cellphone, by the way! It does more harm than good.
Many smartphone photographers use a ring light to create selfies. You can choose from different color lighting modes (warm sunshine, cool white, daylight, etcetera) and several brightness levels. Try different combinations and see what works best in your preferred setup.
My ring light is not available anymore, but I would be pretty happy with one of these reasonably priced ring lights on Amazon; they are pretty similar. You can pick one up, including a tripod stand and remote shutter for $30 to $40.
8 Position the camera slightly above you
Let’s dive into some tips beyond the hardware and software and talk about composition and camera position. You will want to look your best. To do so, I advise you to place the camera slightly above your face. This way, you prevent your chin from being too present in the photo. You will see it is a pretty flattering angle!
9 Consider the composition and background
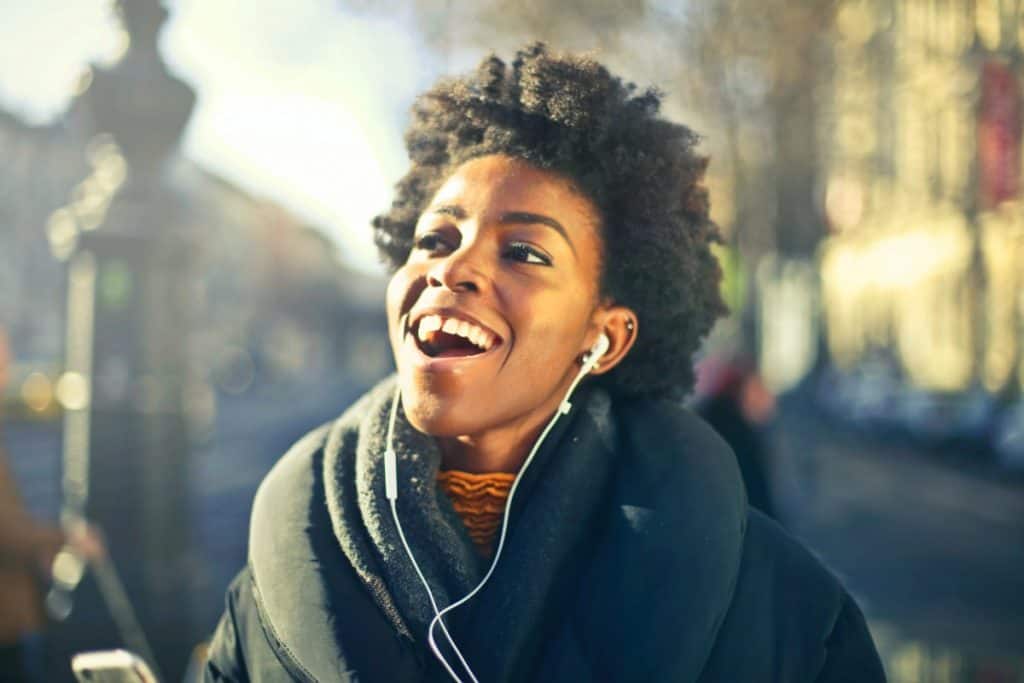
Now it is time to consider composition and background. Have the result in mind and find a suitable spot to take some photographs. Do you want to show off your beautiful face? Choose a high-contrast background without too many distractions. Would you like to tell something about yourself, like a hobby or strength; pick a stunning forest, cozy cafe, or even go for an industrial factory site.

10 Use portraid mode
Portrait mode allows you to create a shallow depth of field by using software. Which means you will have a blurry background. The portrait feature does not have the same effect as using a small aperture, but many mid-range and high-end phones do a pretty decent job these days.
You can find the portrait mode in the native camera app on your cellphone. It might be ‘hidden’ somewhere in the camera settings, or it could be a feature that is clearly visible when you start the application.
There is a downside to using portrait mode; you cannot shoot RAW images. Make sure you turn off any artificial effects, so your JPG photo looks clean. You can edit the result, for example, with Lightroom Mobile or Snapseed.
More experienced editors can create a shallow depth of field during post-processing with Lightroom. If that is the case, always choose to create RAW image files.
11 Check the mirror
Ok, this might sound obvious, but I will say it nonetheless. Check the mirror before taking a portrait of yourself. Are your teeth clean? Is your hair alright? Are your clothes clean? You are trying to make an impression, so take some time to look in the mirror.
12 Edit your images with Lightroom or Snapseed
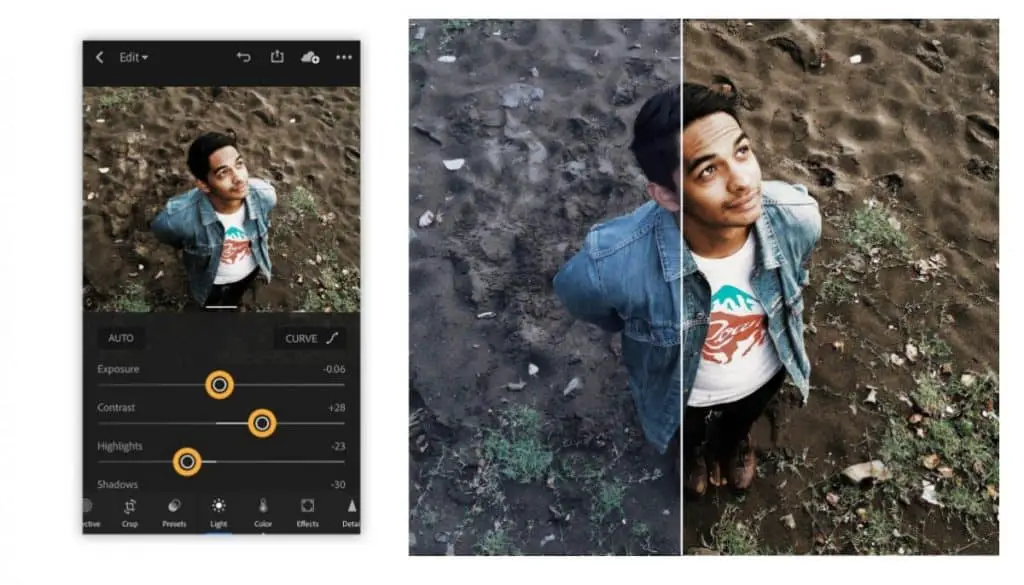
After you take many RAW-size images in the highest resolution possible, it is time to pick your favorites. You can then edit these images to your liking in Lightroom Mobile, Snapseed, Photoshop, or Polarr. These are the four apps or software I use most for editing JPG and RAW files.
You can read more on using Lightroom Mobile and Snapseed in this easy guide on editing RAW images on your phone.
You can change exposure, contrast, colors, iso, and much more in all of these apps. Unfortunately, Polarr does not support RAW images at the moment. They are still experimenting! Here is what they have to say about it. “Polarr Photo Editor does not officially support RAW files. RAW file decoding is still an experimental feature and does not support all file types.”
Final thoughts on taking beautiful images of yourself
Now you are ready to create some stunning images of yourself by using a tripod and remote shutter. Edit your images with Lightroom Mobile or Snapseed (don’t overdo it), and share your beautiful portrait with the world.
If you like to know more about smartphone photography, read one of these helpful articles. They will guide you through all the important settings and options your Android or iPhone have to offer.
How do I manually focus my Android camera?
Sometimes, you need your camera phone to be a DSLR and manually focus before taking a picture. Does your Android camera have the ability to do so? Let’s find out. Most new Android smartphones have…
How to Take Images Through a Telescope with Your Smartphone
The universe’s wonders have always fascinated me; telescopes provide a window into the celestial realm. With the advancement of technology, it is now possible to capture stunning images of the milky way, its planets, and…
How can I edit astrophotos made with a phone?
Editing astrophotos captured with a phone can help enhance the details, colors, and overall quality of your images. While the exact editing process can vary based on personal preferences and available editing tools. In this…
Unleashing Stellar Magic: Phone Astrophotography Guide
Welcome to the fascinating world of astrophotography, where you can capture the wonders of the cosmos using just your smartphone. Armed with curiosity and a willingness to explore, you’re about to embark on a cosmic…
How can I capture the moon with my phone?
The moon is one of the most beautiful and captivating objects in the night sky, and with modern technology, it is now possible to capture its beauty with your smartphone. In this blog post, I…
Can you use a lensball with a phone camera?
So you would like to take some incredible images with a lens ball while using your smartphone camera? You have come to the right place. I will give you tips for creating professional-looking lensball pictures….

